3D-printed ESP32 self-balancing robot with steppers
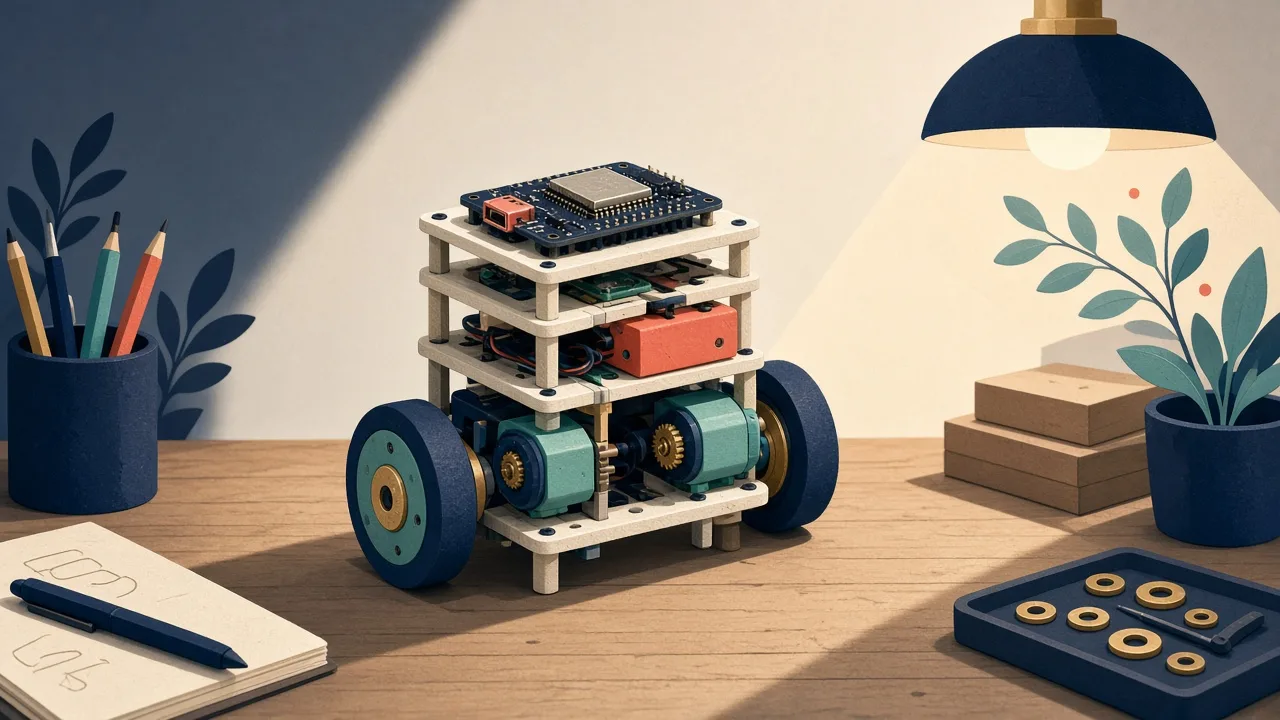
A two-wheeled balancing robot using an ESP32, MPU6050 IMU and DRV8825-driven stepper motors.
Key Facts
- Chip: ESP32
- IMU: MPU6050
- Motors: steppers via DRV8825
- Control: PID
About This Project
This early, compact project shows the classic balancing-robot recipe on an ESP32: an MPU6050 measures tilt, a PID loop computes correction, and two stepper motors driven by DRV8825 drivers keep it upright. The frame is 3D printed. The repo is old (2017) and documentation is light, so treat it as a reference implementation rather than a step-by-step guide.
Source & Attribution
Illustration
Parts Needed
- ESP32 dev board
- MPU6050 IMU
- 2x DRV8825 stepper drivers
- 2x NEMA 17 stepper motors + wheels
- Battery pack (around 12V for the steppers) and a buck converter for the ESP32
- 3D-printed frame
Steps
- 1
Print and assemble the frame
Print the chassis, mount the steppers and wheels low down, and fix the IMU firmly near the axle line.
- 2
Wire the electronics
Connect each DRV8825's STEP and DIR pins to the ESP32 GPIOs used in the source, power the drivers from the battery, and set each driver's current limit with its potentiometer before you connect the motors. The MPU6050 connects over I2C (SDA/SCL).
- 3
Build the firmware
Open the code in the Arduino IDE or PlatformIO, check the pin numbers against your wiring, and upload.
- 4
Tune the PID
Hold the robot upright and adjust the PID gains (start with P, then add D and I) until it balances without oscillating.
- 5
Tips
The README is very sparse, so read the source before wiring and verify the pins yourself. Steppers draw current constantly, so plan for battery life.
Not included: 3D-printed case, wire, solder, USB cable
Related Projects