Skip to content
MCU Atlas
ESP32ESP32Draft

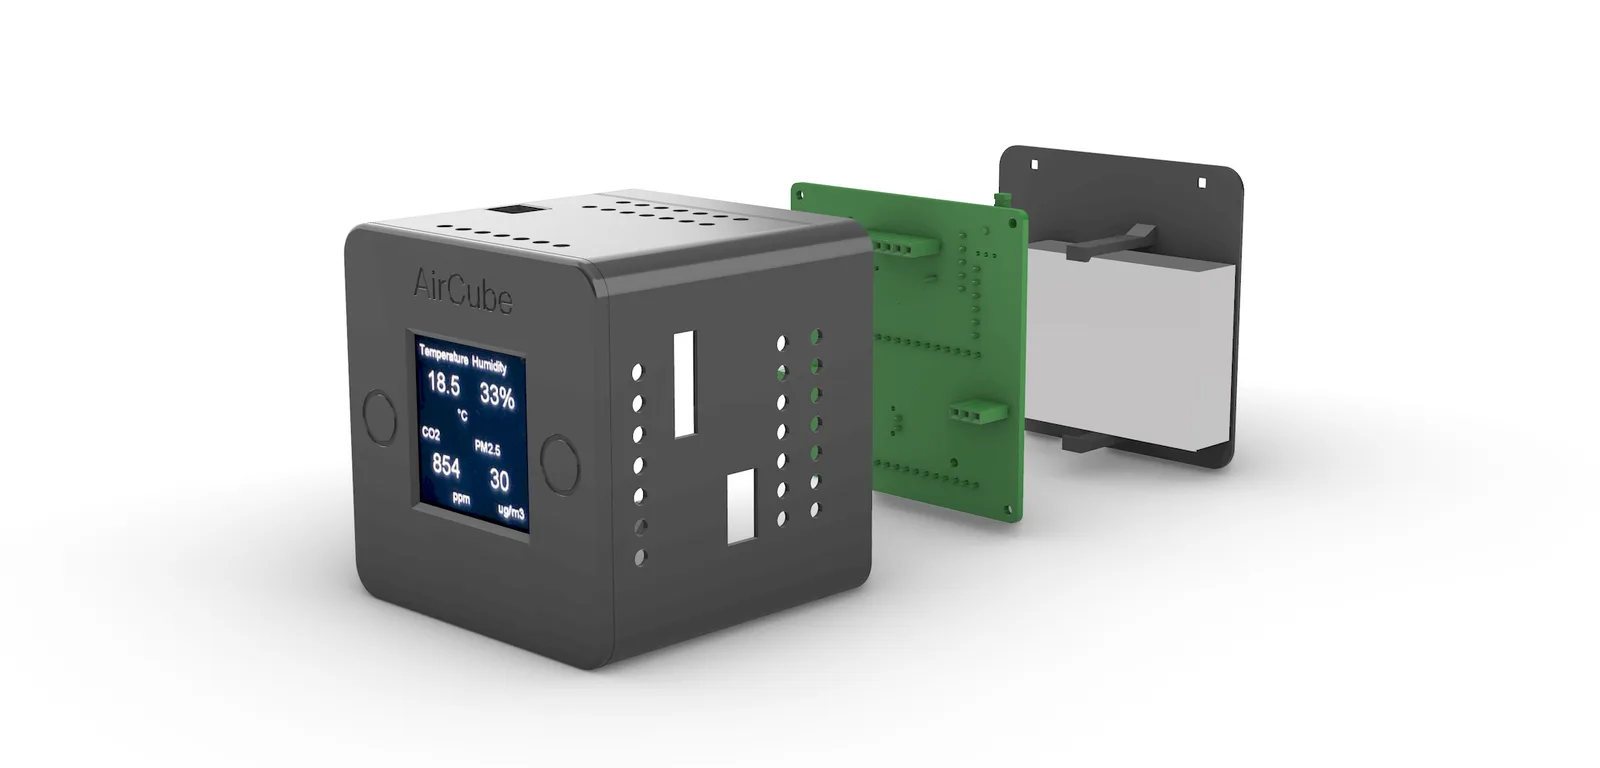
AirCube: ESPHome desk air-quality cube with charts

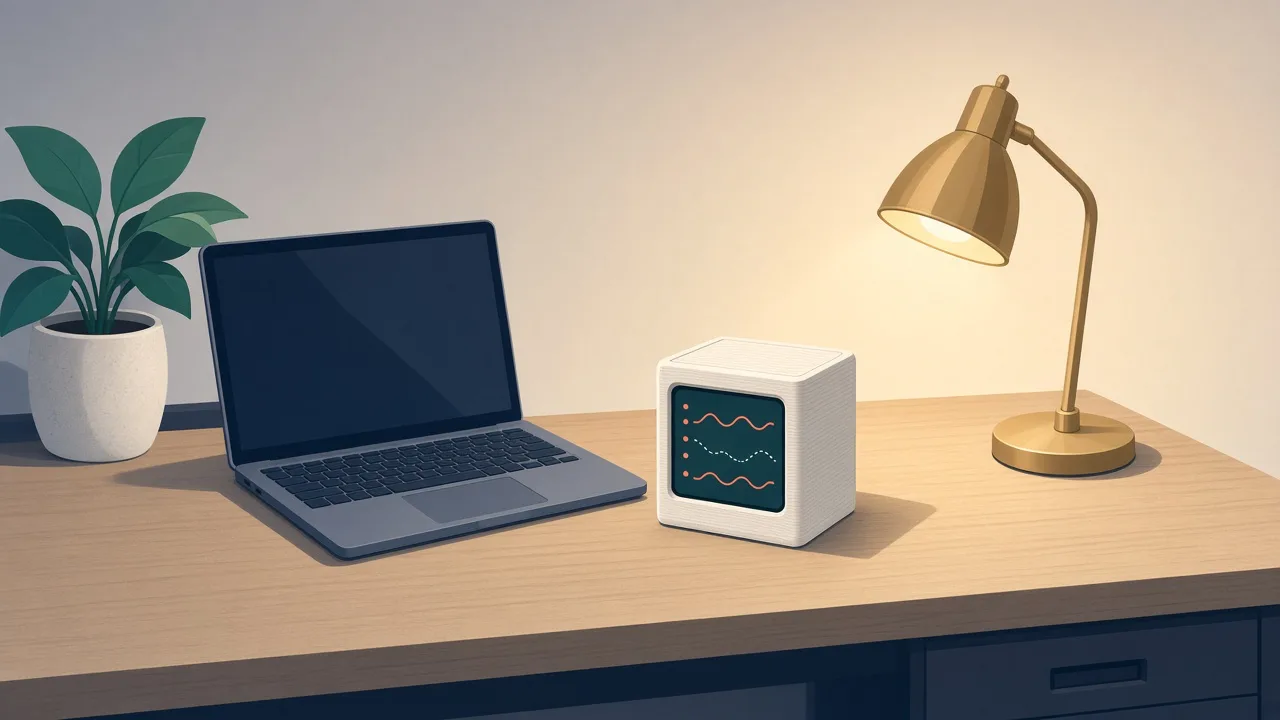
An all-in-one ESPHome air monitor showing temperature, humidity, CO2 and PM2.5 with 12-hour trend charts on a small screen.
Difficulty:IntermediateCost:Source available

Photos

AirCube: ESPHome desk air-quality cube with charts photo 1
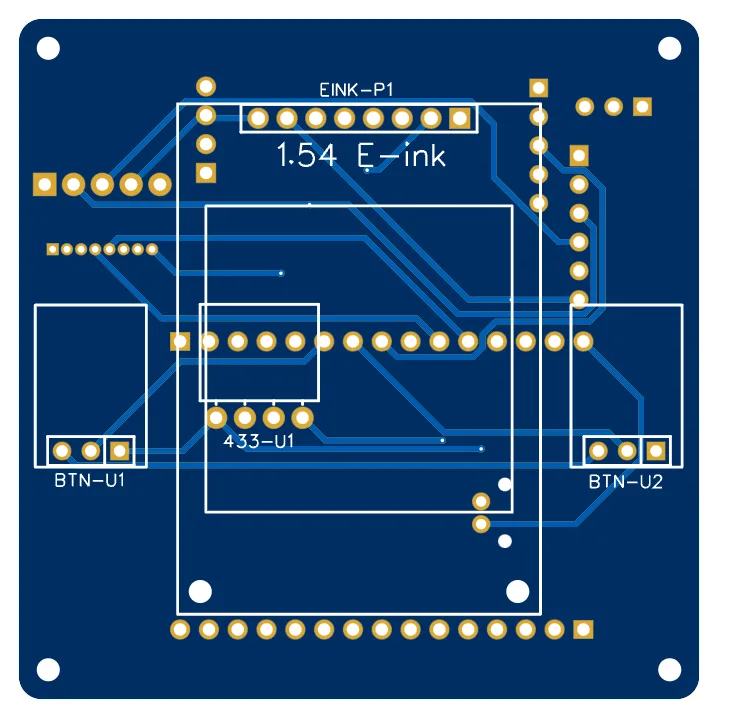
AirCube: ESPHome desk air-quality cube with charts photo 2
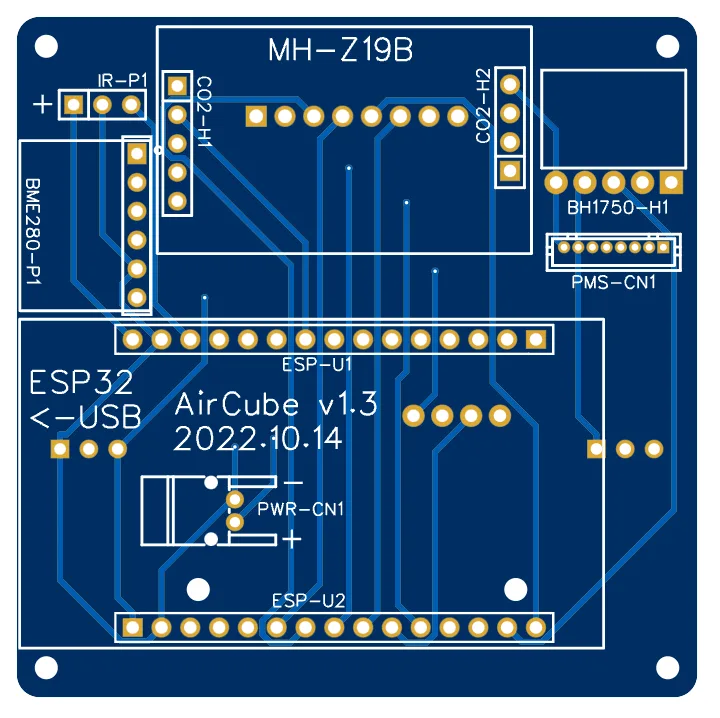
AirCube: ESPHome desk air-quality cube with charts photo 3
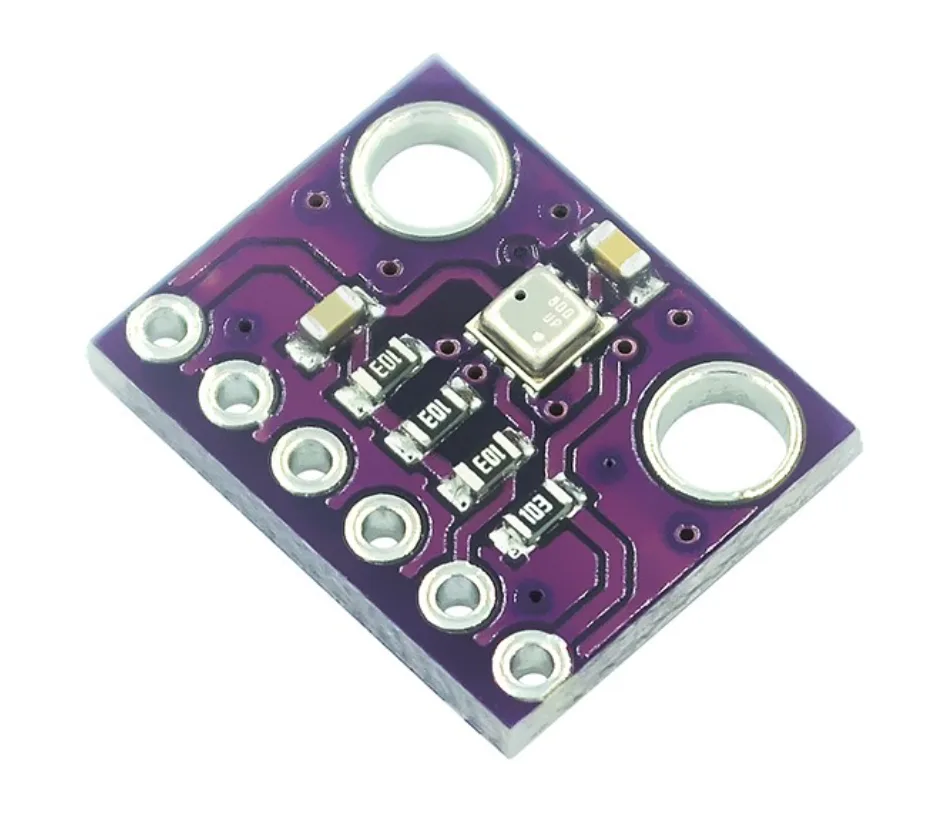
AirCube: ESPHome desk air-quality cube with charts photo 4

Photos: ohdarling/AirCube

Key Facts

  • Chip: ESP32
  • Sensors: CO2, PMS5003, temp/humidity
  • Framework: ESPHome
  • Integration: Home Assistant, Domoticz (MQTT)

About This Project

AirCube is a compact cube-shaped environment monitor running ESPHome. A small display shows an overview page, per-sensor detail pages (e.g. PM1/PM2.5/PM10) and 12-hour history charts, navigated with buttons. Data goes to Home Assistant or Domoticz over MQTT, and scripts support deploying multiple units. The main README is in Chinese with an English version.

Source & Attribution

Source: GitHub
License: MIT
Last verified: 10/16/2026
AirCube: ESPHome desk air-quality cube with charts
How to Build It
AirCube is a small desk cube that monitors air quality. It reads CO2, PM2.5, temperature and humidity, shows charts and device info on a small TFT, and reports to Home Assistant or Domoticz (via MQTT). The firmware is ESPHome, built with a helper script.

Parts Needed

  • ESP32 board (the project uses a custom PCB)
  • Plantower PMS5003 particulate sensor
  • CO2 sensor (e.g. SenseAir S8)
  • Temperature/humidity sensor (BME280 or SHT31)
  • Small TFT display
  • 3D-printed enclosure

Steps

  1. 1

    Build the PCB

    Order the PCB from the repo, solder the parts listed in the component selection notes, then assemble the cube enclosure.

  2. 2

    Install the tools

    Install ESPHome and esptool.py, which the build script uses.

  3. 3

    Choose options

    The Firmware folder's build.sh takes environment variables to swap sensor models (e.g. TEMP=sht31) and set things like a static IP for OTA updates.

  4. 4

    Build and flash

    Run ./build.sh upload to compile and flash in one step over USB. Later updates can go over the air to the fixed IP.

  5. 5

    Integrate

    Add the device in Home Assistant, or point it at your MQTT broker for Domoticz.

Parts List (BOM)
Parts list inferred by MCU Atlas — check the original
inferred
PartQtyRoleEst. PriceBuy
1main board$5–$10View
1PM$12–$25View
1CO2$20–$45View
1display$3–$8View
Estimated Total$40–$88 USD

Not included: 3D-printed case, wire, solder, USB cable

Download CSV

Related Projects

Watchy: open-source ESP32 e-ink smartwatch
Illustration
ESP32Draft
An open-source smartwatch with a 1.54in e-paper screen and ESP32, hackable watch faces in Arduino.
Beginner·Under $15·Code
2 parts listed
Low-power ESP32 e-paper weather display (7.5in)
Illustration
ESP32Draft
A wall-mounted 7.5in e-paper weather display on an ESP32 that runs for months on one battery charge.
Intermediate·Cost varies·Code
5 parts listed
OpenEPaperLink: reuse e-ink shelf labels with an ESP32 access point
Illustration
ESP32ESP32-S3Draft
Turns cheap second-hand electronic shelf labels into a Wi-Fi-managed e-ink display fleet via an ESP32 access point.
Advanced·Under $15·Code
3 parts listed