AWTRIX NG: build a smart LED pixel clock from an ESP32 and a WS2812B matrix
Build your own smart-home pixel clock from an ESP32 board and an 8-pixel-high WS2812B panel: time, sensors and notifications, with apps that run on the clock itself.
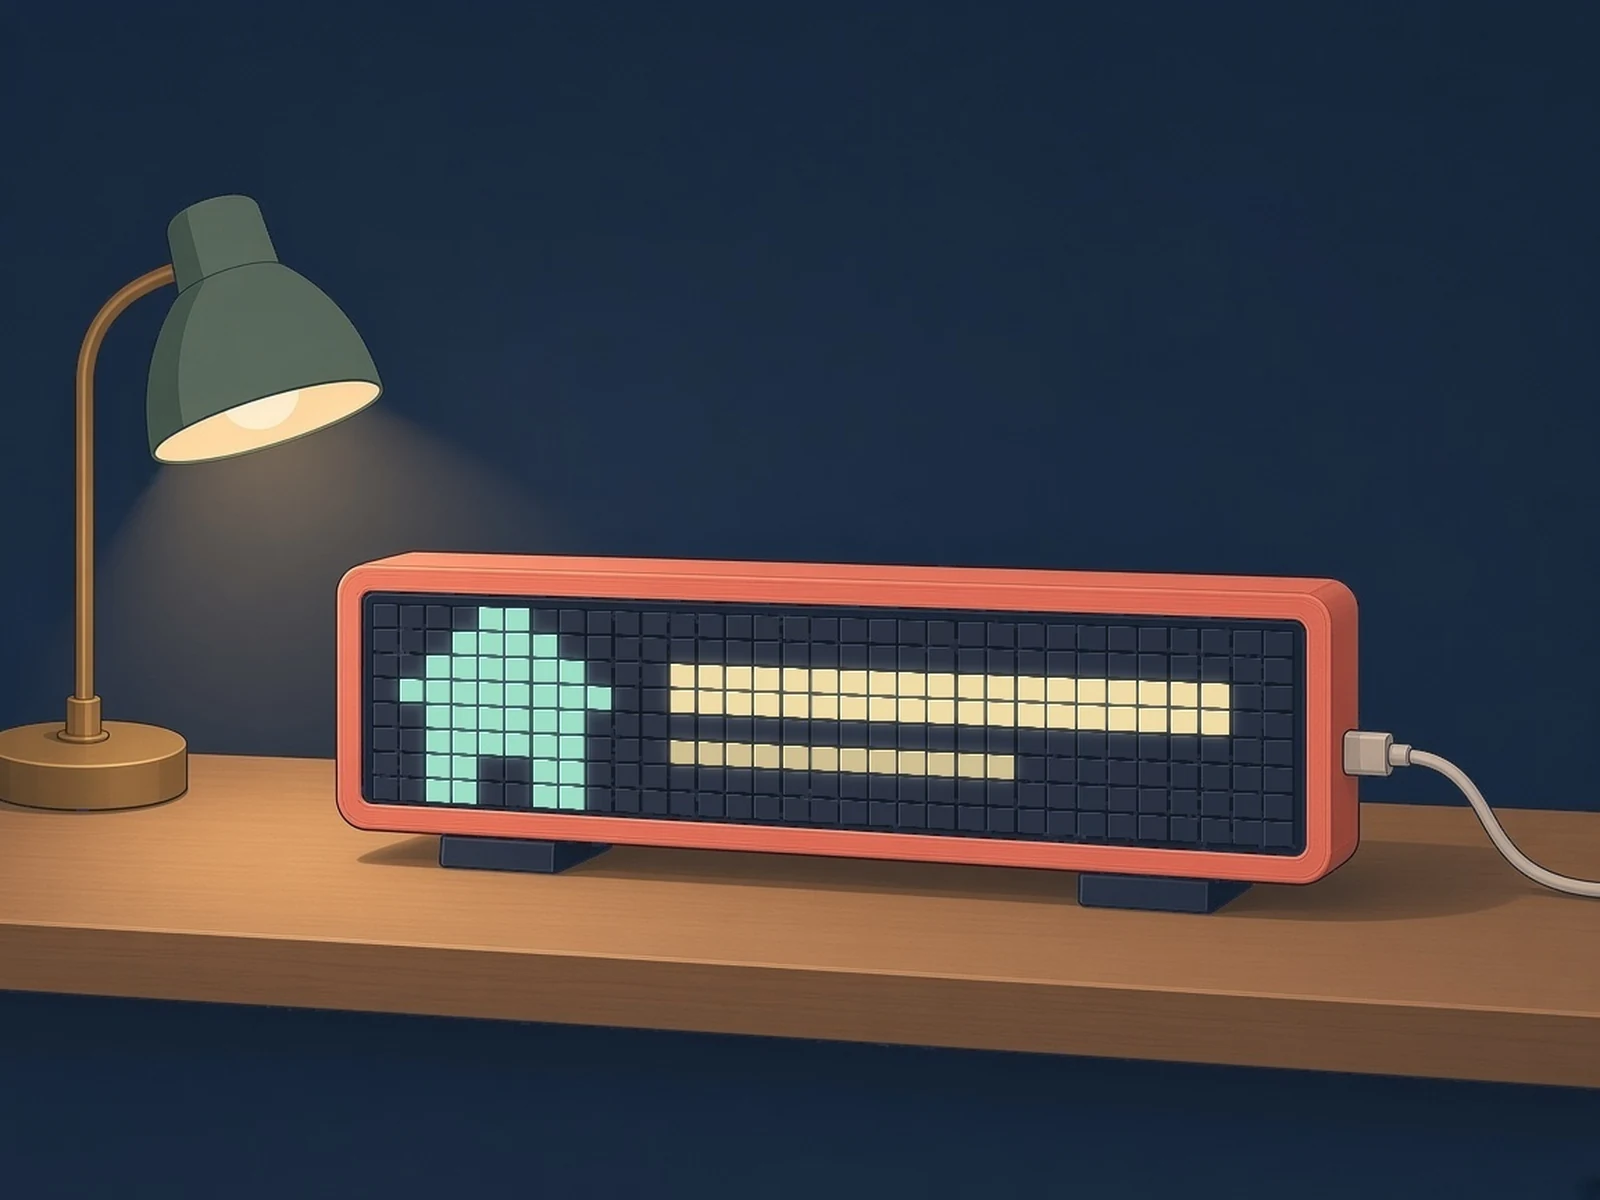
Photos
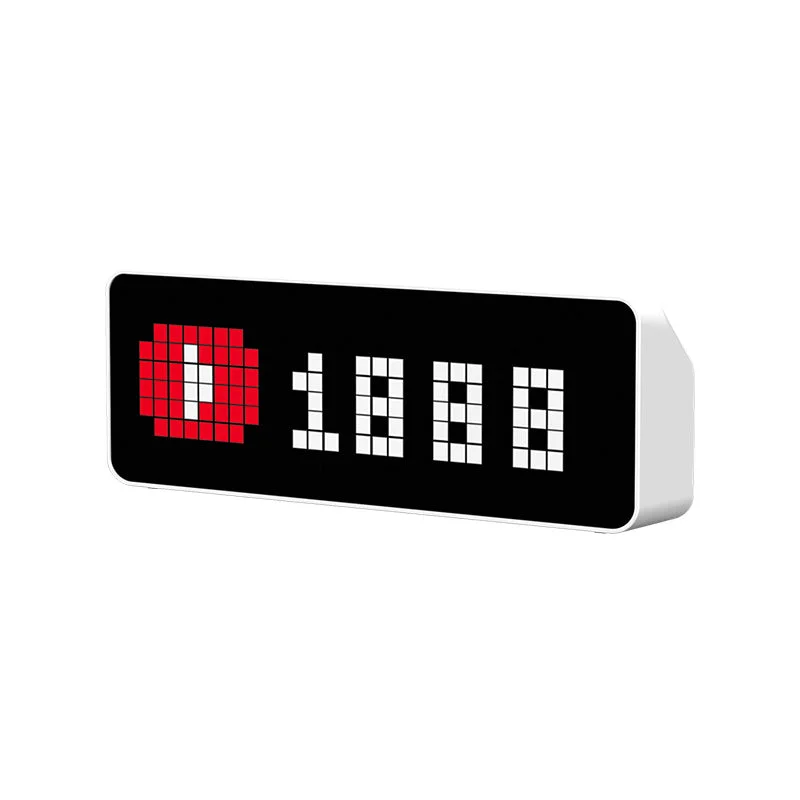
Photos: Blueforcer
Key Facts
- Build: ESP32 or ESP32-S3 board + WS2812B panel, 8 px high
- Display: 8 rows x 32-128 px
- Power: 5 V, 3-4 A for a 32 x 8 panel
- Integration: HTTP, MQTT, Home Assistant discovery
- Also runs on: Ulanzi TC001 / TC002 (ready-made)
About This Project
AWTRIX NG is open firmware for LED pixel clocks, and its docs walk you through building one yourself. The build needs only two things: an ESP32 or ESP32-S3 board and a WS2812-style LED panel 8 pixels high and 32 to 128 pixels wide, plus a 5 V supply (3 to 4 A for a 32 x 8 panel). A 1000 µF capacitor across the panel's power input and a 330 to 470 ohm resistor in the data line keep it reliable, and a milky diffuser makes the pixels readable as text. Buttons, a light sensor, a temperature sensor, a buzzer and a battery are optional. Wire it to the standard pinout and there are no pins to set; other pins can be set in the web UI. Installation happens in the browser. Once it runs, the clock shows the time, the date and its sensor readings, plus whatever your smart home sends it over HTTP or MQTT: the washing machine is done, someone is at the door, the train is late. Home Assistant finds it through MQTT discovery, and apps you write run on the clock itself, so it keeps working without a server. An ESP32-S3 with PSRAM and an I2S amplifier adds MP3s and internet radio. Rather not build one? The same firmware runs on the ready-made Ulanzi TC001 and TC002 clocks.
Source & Attribution
Bill of Materials
Parts list
10 parts · 7 linked
Heads up: some Buy links are affiliate links. If you buy through one, MCU Atlas may earn a small commission at no extra cost to you. It never changes which parts we list. How this works



1× 1000uF electrolytic capacitor
1× 470 ohm resistor
1× Diffuser
1× LDR photoresistor
1× Passive piezo buzzer
Not included: 3D-printed case, wire, solder, USB cable
Related Projects