Cheap Yellow Display: community hub for the ESP32-2432S028 touchscreen
A community guide, pinouts and examples for the ~$15 ESP32 board with a built-in 2.8in resistive touchscreen.
Photos
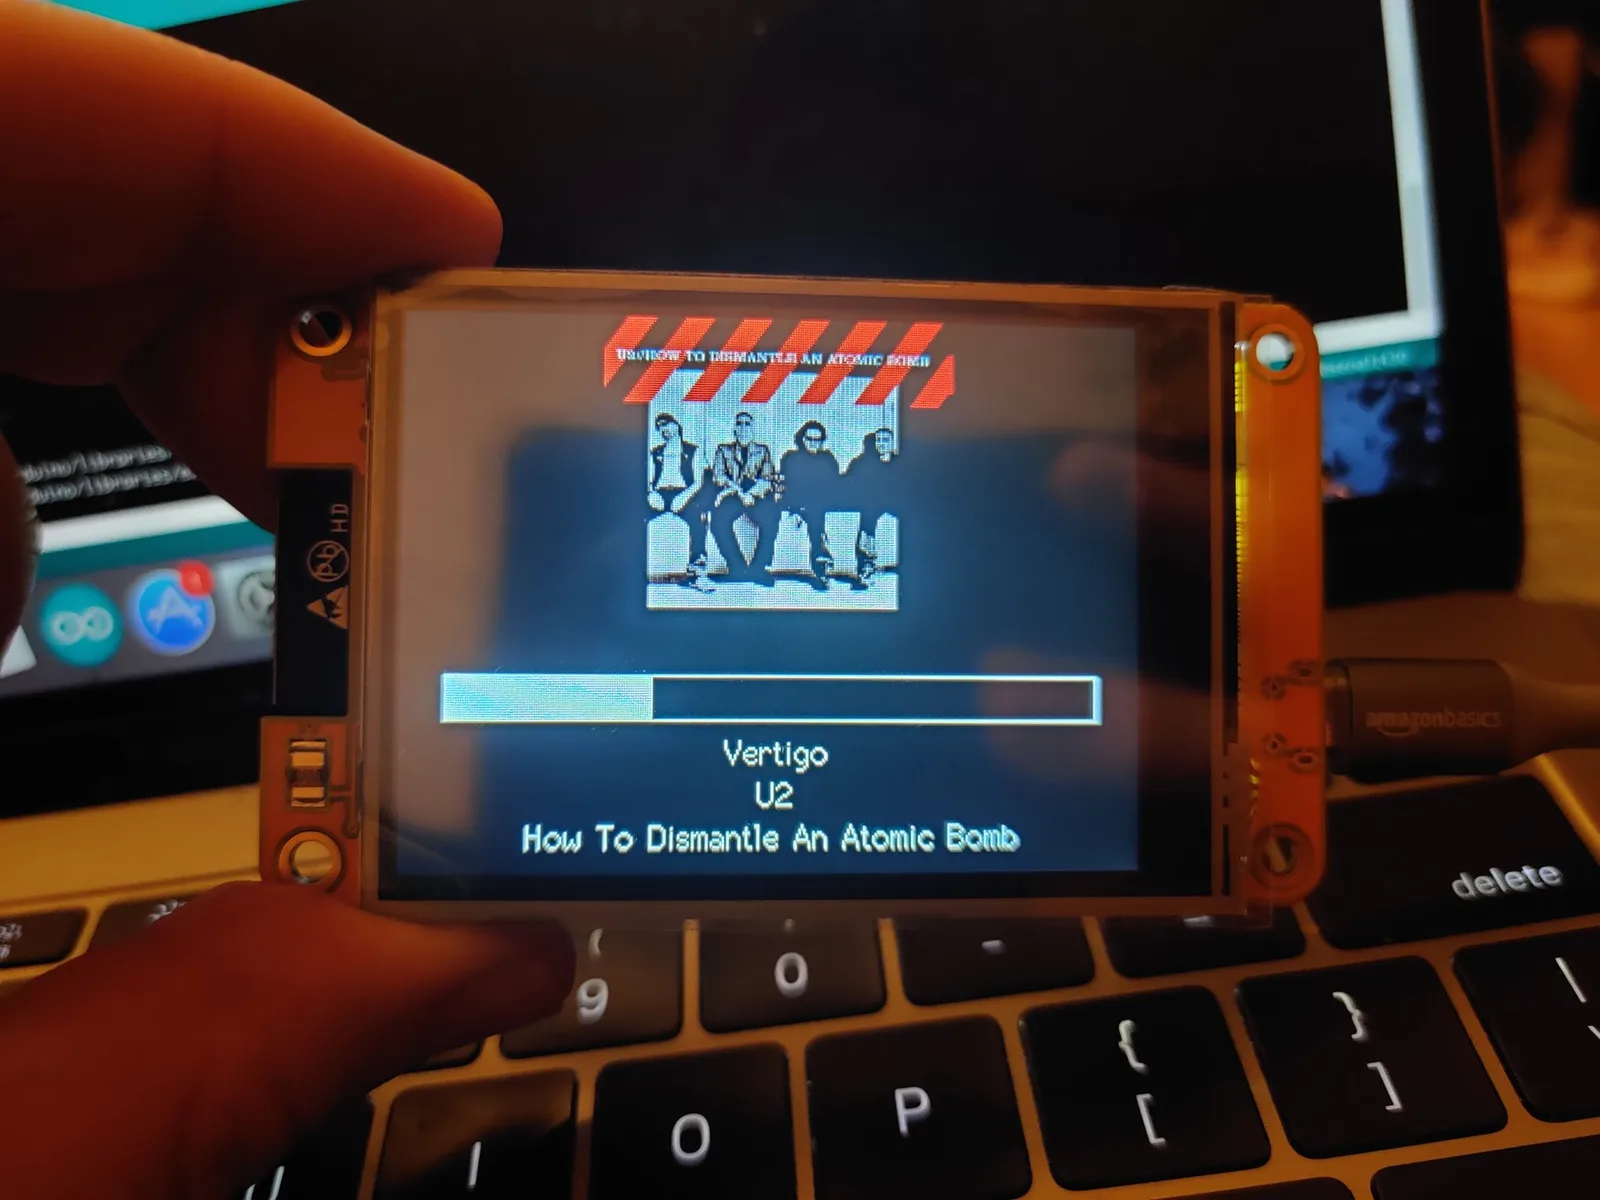
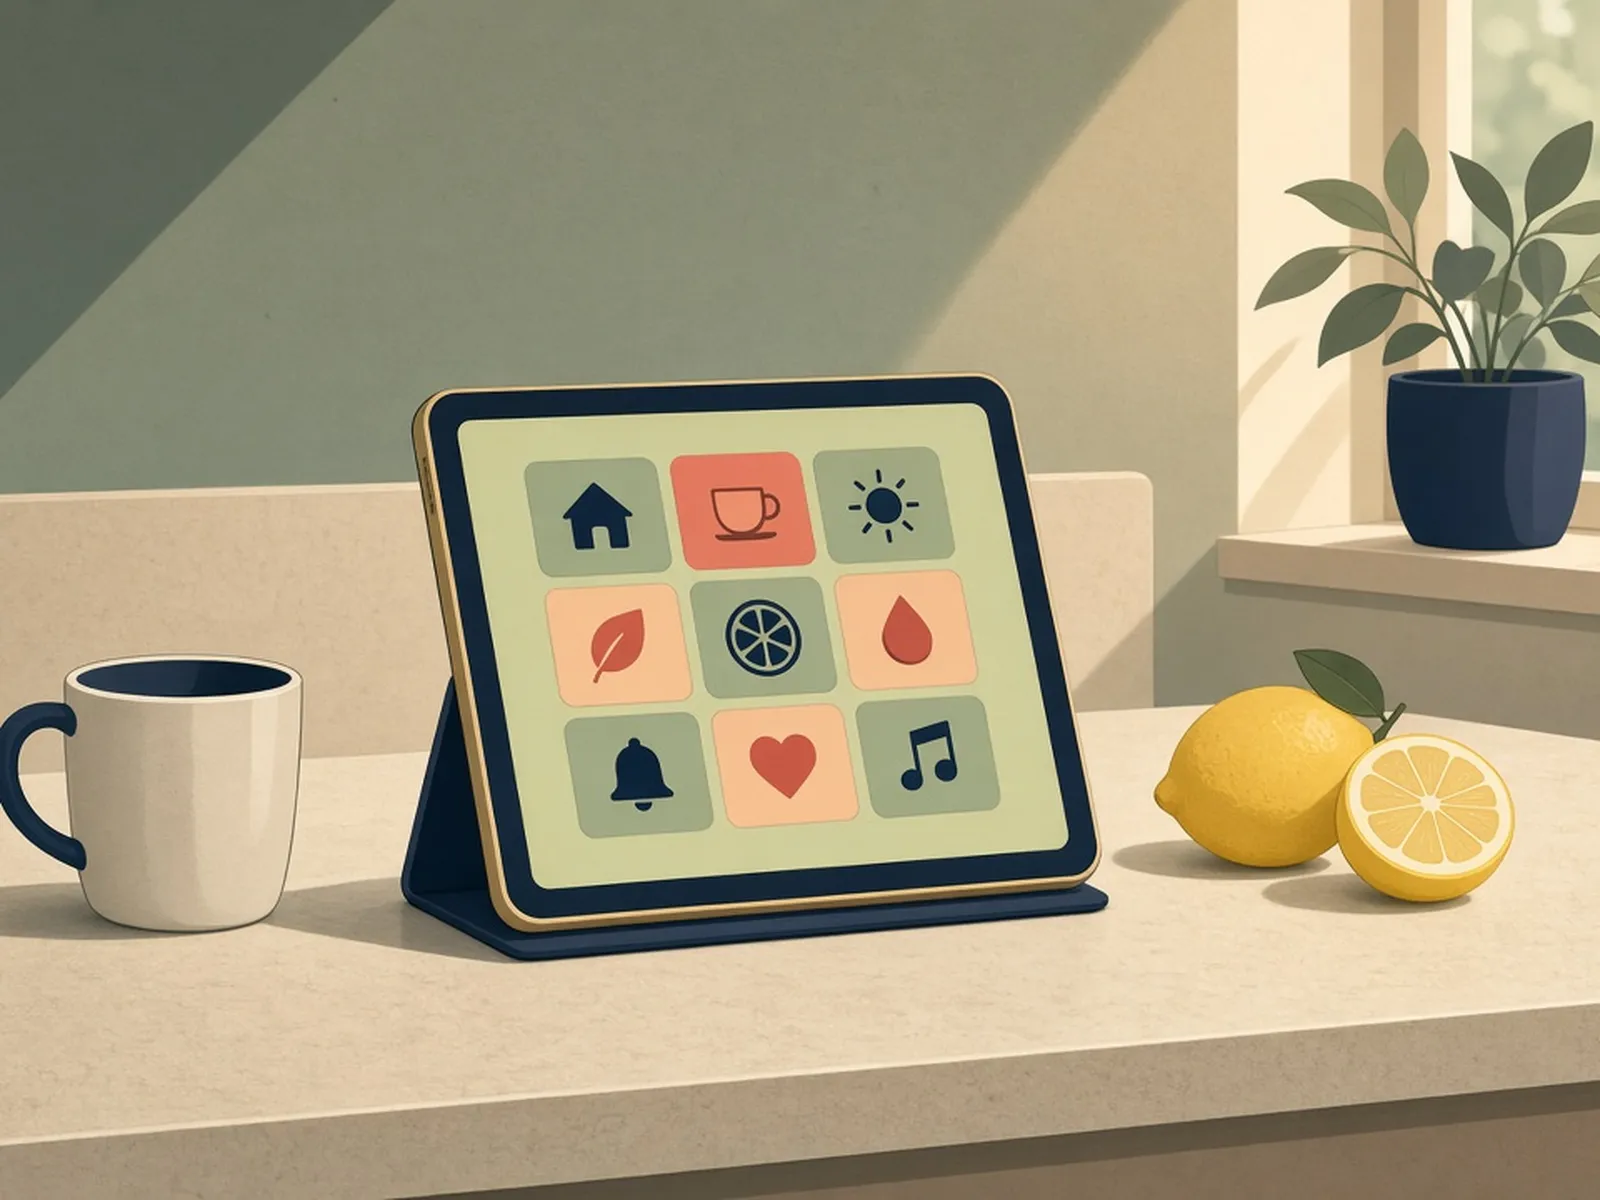
Photos: witnessmenow/ESP32-Cheap-Yellow-Display
Key Facts
- Chip: ESP32-WROOM-32
- Display: 2.8in 320x240 ILI9341, resistive touch
- Extras: microSD, RGB LED, speaker header, LDR
- Libraries: TFT_eSPI, LVGL
About This Project
The Cheap Yellow Display (ESP32-2432S028R) bundles an ESP32, a 2.8in 320x240 ILI9341 touchscreen, an SD slot, an RGB LED and a speaker header on one cheap board. This repo by Brian Lough collects working pin definitions, library setup (TFT_eSPI, LVGL), and dozens of community example projects from weather apps to game emulators. It is the best starting point for anyone who wants a touchscreen ESP32 gadget without wiring a display.
Source & Attribution
Parts Needed
- ESP32-2432S028R 'Cheap Yellow Display' (2.8in version)
- microSD card (optional)
- USB data cable
Steps
- 1
Confirm you have a real CYD
Check the board is the 2.8in ESP32-2432S028R. Similar-looking boards exist with different screens or pinouts, and the hub's examples assume this exact model.
- 2
Install the Arduino tooling
Install the Arduino IDE, add the Espressif ESP32 board package, and install the TFT_eSPI library (plus the XPT2046 touch library the examples use).
- 3
Apply the display config
TFT_eSPI needs to be told about the CYD's wiring. Use the pre-made User_Setup file from the hub's setup page instead of the library default, or the screen will stay blank or show wrong colours.
- 4
Flash a basic example
Open one of the 'Basics' examples (e.g. the touch test), select a generic ESP32 Dev Module and your serial port, and upload. You should see the touch coordinates drawn on screen.
- 5
Move on to real projects
Try the alternative display library examples (e.g. LVGL) or the ESPHome configs if you'd rather integrate with Home Assistant. The pin information page lists which GPIOs are still free for your own sensors.
- 6
Tips
If uploads fail, hold BOOT while connecting. Some newer CYD revisions use a different display driver; the hub's troubleshooting page covers colour inversion and screen-rotation fixes.
Not included: 3D-printed case, wire, solder, USB cable
Related Projects