ESP32 walkie-talkie over UDP or ESP-NOW
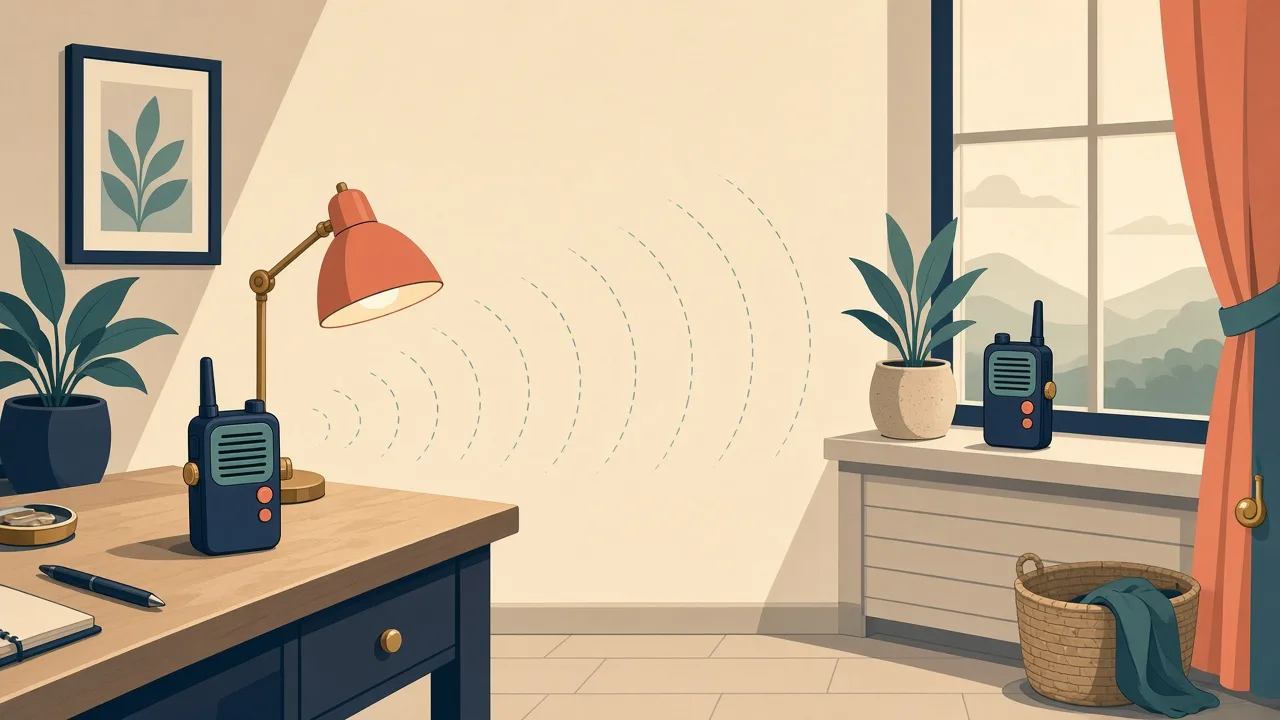
Push-to-talk walkie-talkies made from ESP32s, an I2S mic and amp, talking over Wi-Fi or ESP-NOW.
Photos
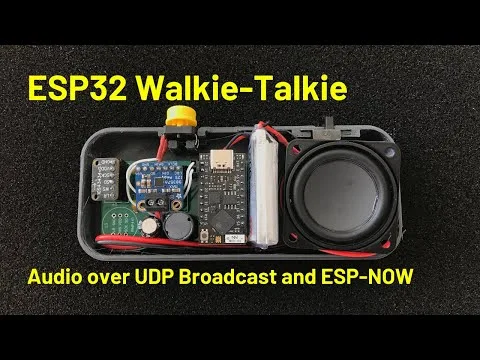
Photos: atomic14/esp32-walkie-talkie
Key Facts
- Chip: ESP32
- Audio in: INMP441 I2S mic
- Audio out: MAX98357 I2S amp
- Link: ESP-NOW or UDP broadcast
About This Project
Chris Greening (atomic14) built a pair of walkie-talkies using ESP32 boards, INMP441 I2S microphones and MAX98357 I2S amplifiers. Audio is captured, sent as UDP broadcast or ESP-NOW packets, and played on the other unit while a button is held. It is a compact, well-explained demo of real-time audio on the ESP32 and the ESP-NOW protocol, with an accompanying YouTube video.
Source & Attribution
Parts Needed
- 2x ESP32 dev boards
- 2x INMP441 I2S microphones (or the author's mic board)
- 2x MAX98357 I2S amplifiers
- 2x 4Ω speakers
- 2x push-to-talk buttons
- Breadboard and jumper wires
Steps
- 1
Wire each unit
Connect the mic and amp to the ESP32's I2S pins, plus a push-to-talk button. Everything is digital I2S, so jumper wires are fine. The pins are defined in src/config.h.
- 2
Choose the transport
ESP-NOW is the default and needs no Wi-Fi network. For UDP broadcast, comment out #define USE_ESP_NOW in src/config.h.
- 3
Set Wi-Fi (UDP only)
If you use UDP, enter WIFI_SSID and WIFI_PSWD in config.h.
- 4
Build and upload
Open the project in PlatformIO, connect each ESP32 in turn, then build and upload.
- 5
Talk
Hold the button on one unit to talk, and the other plays the audio. You can switch to the ESP32's built-in ADC or DAC in config.h if you want analog parts.
Related Projects