Jet Studio: build an Arduino Nano ESP32 game player and make games for it in a Godot-style editor
Wire an Arduino Nano ESP32 to a 2.8in ILI9341 screen and a couple of buttons, then make 2D and 3D games for it in Jet Studio, a free Godot-style editor that flashes them over USB.
What it is
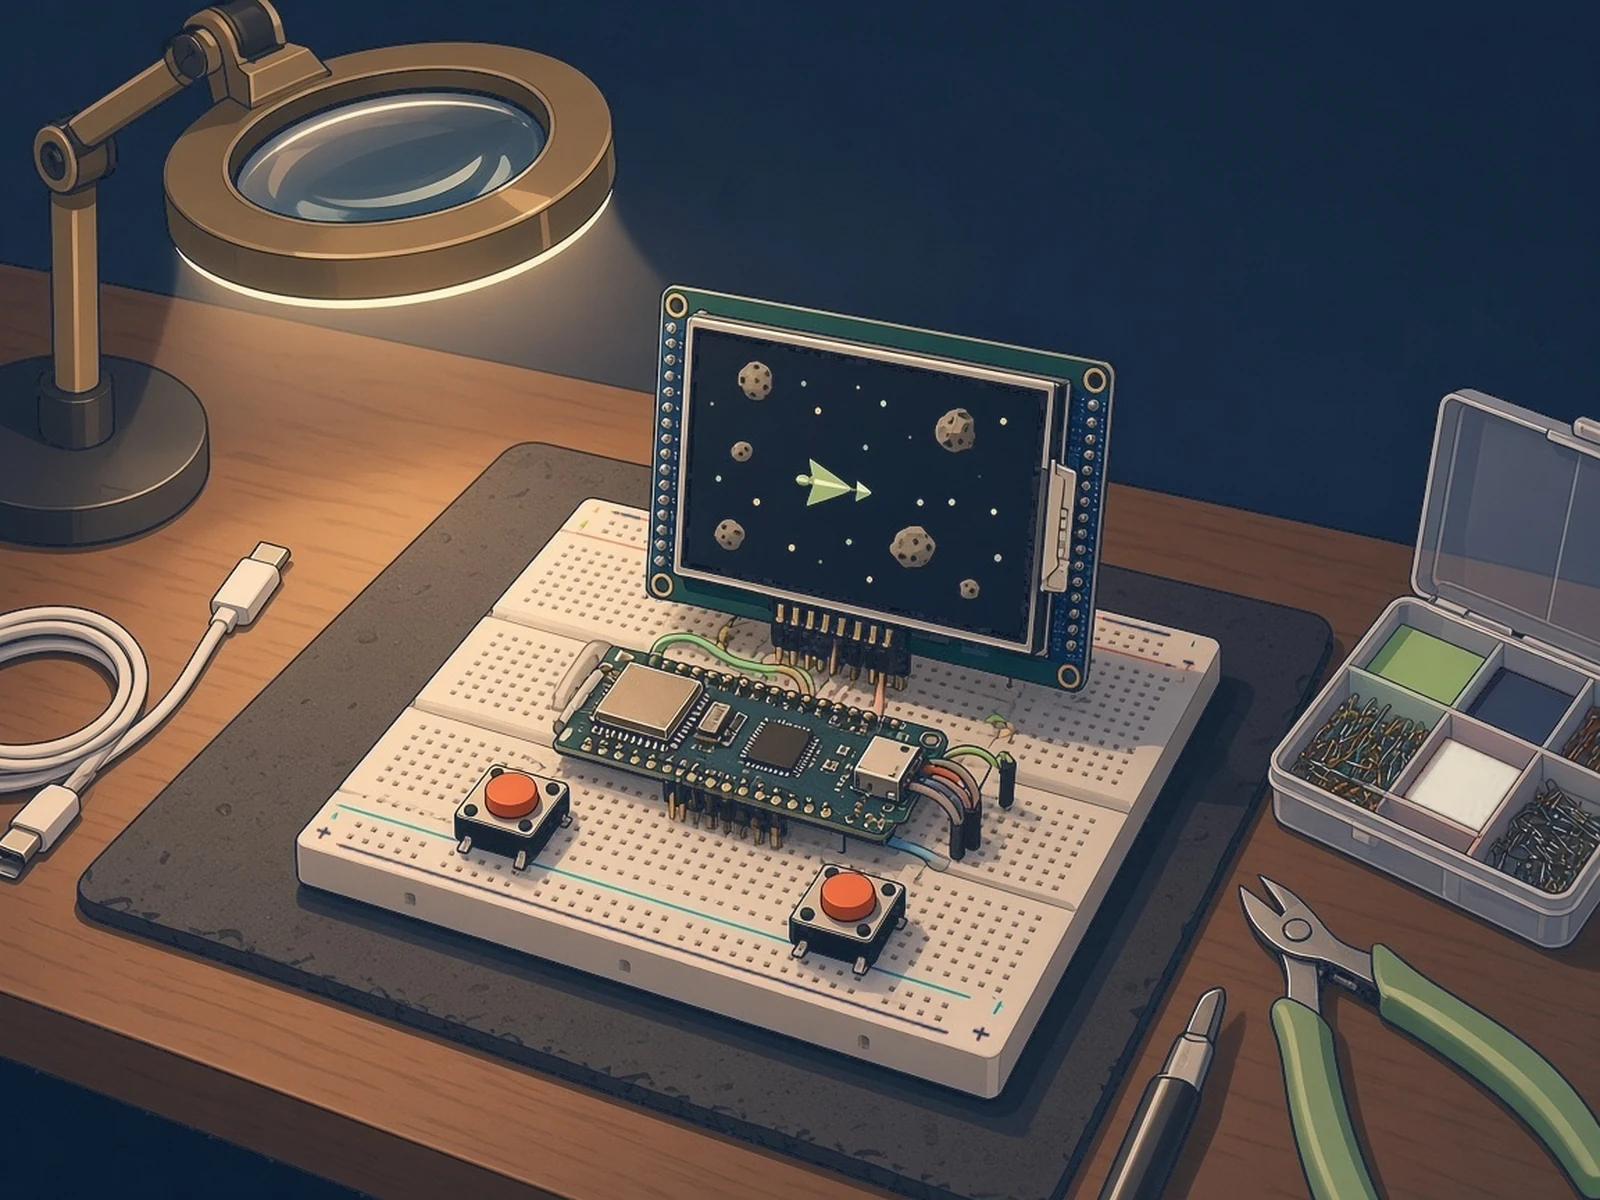
A homemade game player (Arduino Nano ESP32, 2.8in screen, buttons) plus a Godot-style editor that makes and flashes 2D and 3D games for it.
What you need
- Arduino Nano ESP32 or an ST Nucleo-F746ZG
- ILI9341 2.8in SPI screen
- Push buttons
- Jumper wires
- USB-C data cable
How hard
Intermediate: about ten jumper wires and no soldering on a breadboard, but the editor needs a Linux PC and you set up the board's first upload by hand.
Key Facts
- Tested hardware: Arduino Nano ESP32 + ILI9341 320×240, and ST Nucleo-F746ZG + ILI9341 (SPI at 54 MHz)
- Also supported: ESP32-S3-DevKitC-1 (N8R8, N16R8, N8R2), Nucleo-F767ZI and F722ZE, and the WeAct Black Pill F411CE for small scenes
- Other displays: ST7796 480×320, ST7789, GC9A01 round and ST7735S. The README says all combinations compile; only the two ILI9341 builds are tested on hardware
- Buttons go between a board pin and GND, mapped in the editor's Input Map
- Author's figures: 2D shooter about 62 fps on the Nano, 83 fps on the Nucleo-F746ZG. The Nano measurements were taken without a display connected
- Editor: Linux x86_64 only (developed on Ubuntu 24.04). Prototype 0.6.0, MIT licence. No audio yet
About This Project
The hardware is simple: an Arduino Nano ESP32 (or an ST Nucleo-F746ZG), a 320×240 ILI9341 SPI screen on jumper wires and a few push buttons wired from pins to ground. Jet Studio, by Federico Fausto Santoro (@fedyfausto), is the software side: a desktop game editor that looks and works like Godot, with a scene tree, inspector, 2D and 3D views, arcade physics, animation, particles and JetScript, a language with GDScript syntax. You press Play to test a game on the PC, or Build/Flash to put it on the board, and a device emulator shows how it will look on the small screen first. The author reports a 2D shooter at about 62 fps on the Nano and 83 fps on the Nucleo, and an OutRun-style racer at about 60 fps on the Nano. Two cautions: the editor runs on Linux x86_64 only for now, and the author says the Nano speed figures were measured without a display connected, so the image on a real panel and the physical buttons are still being checked. There's no audio yet. Hackaday featured it on November 1, 2026.
Source & Attribution
Illustration
Parts Needed
- Arduino Nano ESP32 (or ST Nucleo-F746ZG)
- ILI9341 2.4in/2.8in SPI TFT
- 2 or more push buttons
- Jumper wires
- USB-C data cable
- Linux x86_64 PC
Steps
- 1
Wire the screen
On the Nano ESP32: SCK to D13, MOSI to D11, CS to D10, DC to D6, RESET to D9, the backlight (LED) to 3V3, plus power and ground. Leave MISO unconnected. The Nucleo uses its own SPI1 pins; see the README.
- 2
Add buttons
Wire each button between a free pin and GND. You choose which pin drives which action later, in the editor's Input Map.
- 3
Install Jet Studio
On a Linux x86_64 PC, install the packages the README lists, then build the editor with its setup script and start it with ./jet-studio run. It opens an example project.
- 4
Set the hardware
In Project Settings > Hardware pick your board, display, orientation and pins. The game resolution follows the screen, and the device emulator shows how the board will draw it.
- 5
First upload
The Nano's first upload from the Arduino bootloader needs ROM mode, which the README's board_3d notes describe. After that, Build/Flash uploads over USB by itself.
- 6
Make and flash a game
Edit a scene and its JetScript, press F5 to test on the PC, then Build/Flash. Debug builds show print output, FPS and memory in the Serial panel. The author notes the image on a real panel and the physical buttons are still being checked.
Bill of Materials
Parts list
9 parts · 4 linked
Heads up: some Buy links are affiliate links. If you buy through one, MCU Atlas may earn a small commission at no extra cost to you. It never changes which parts we list. How this works

2× Push buttons
1× Breadboard
Not included: A Linux x86_64 PC for the editor, Other supported screens (ST7796, ST7789, GC9A01, ST7735S) are untested on hardware
Related Projects