Macropad Hotkeys II: CircuitPython macros for Adafruit MacroPad
An extensible hotkey firmware for the Adafruit MacroPad RP2040 with Blender, MIDI, DaVinci and more profiles.
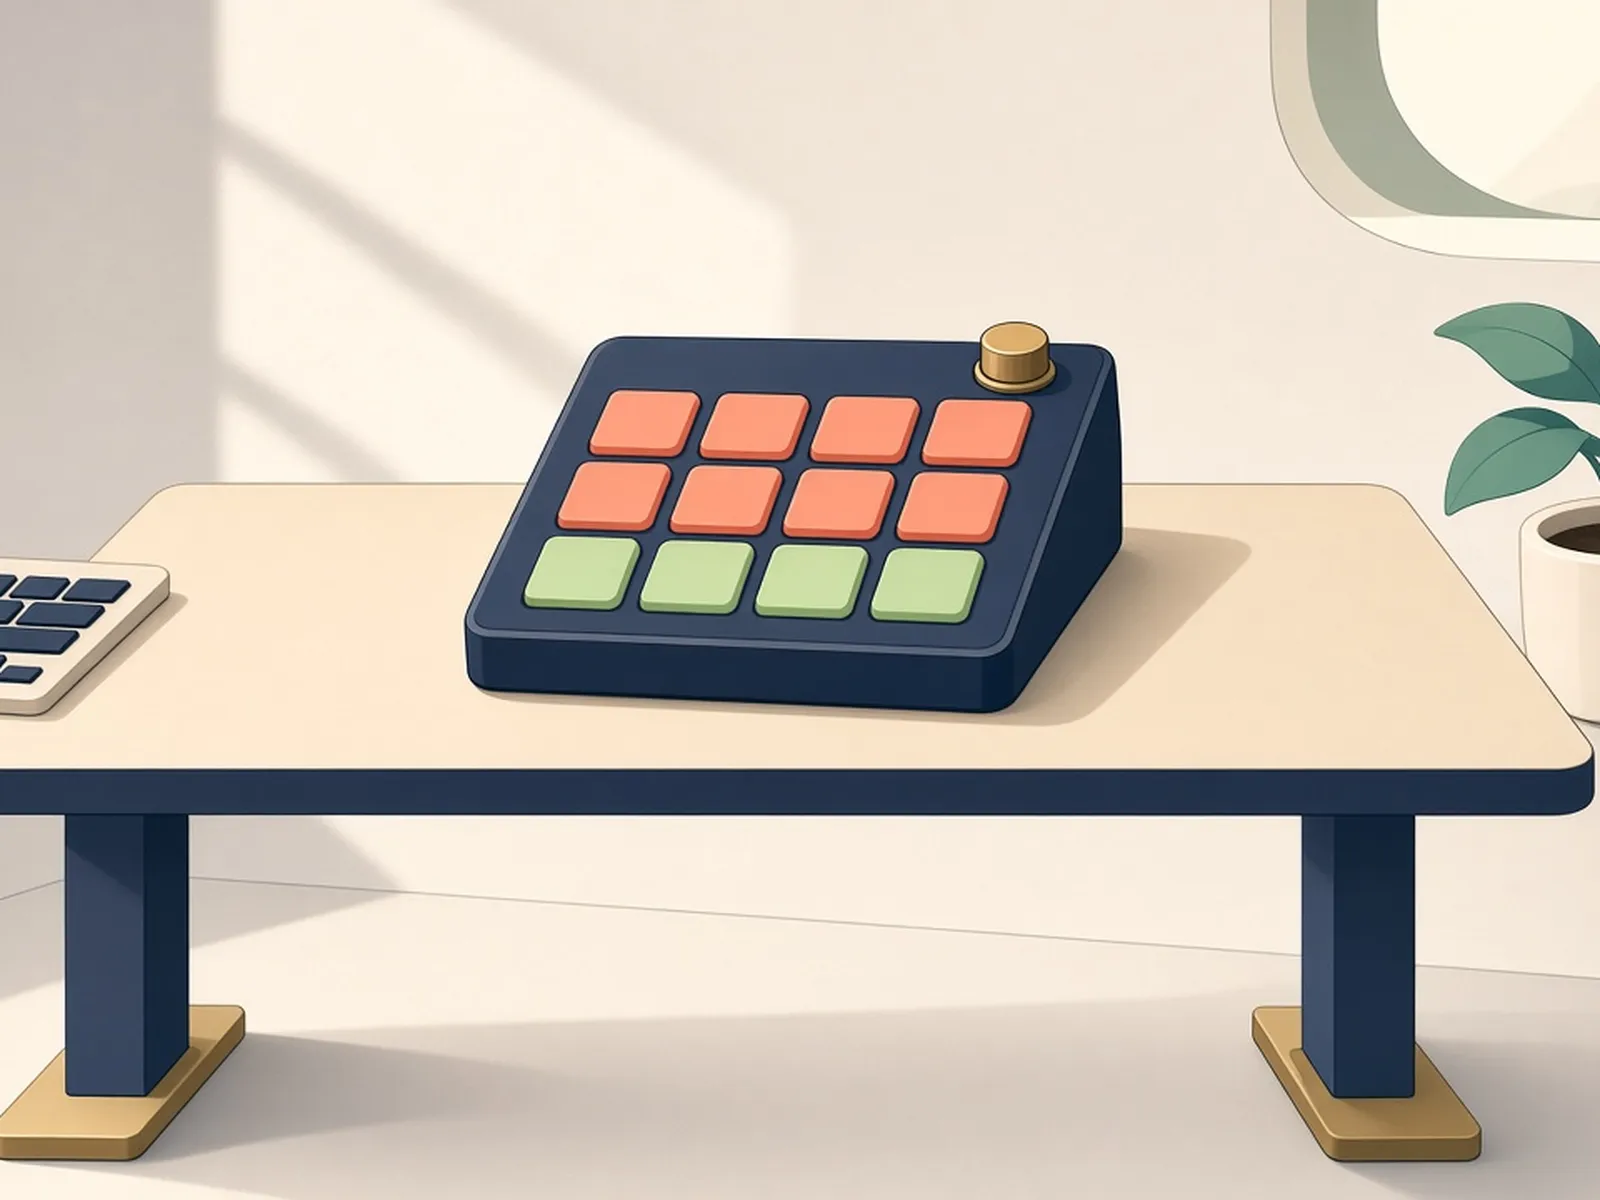
Photos
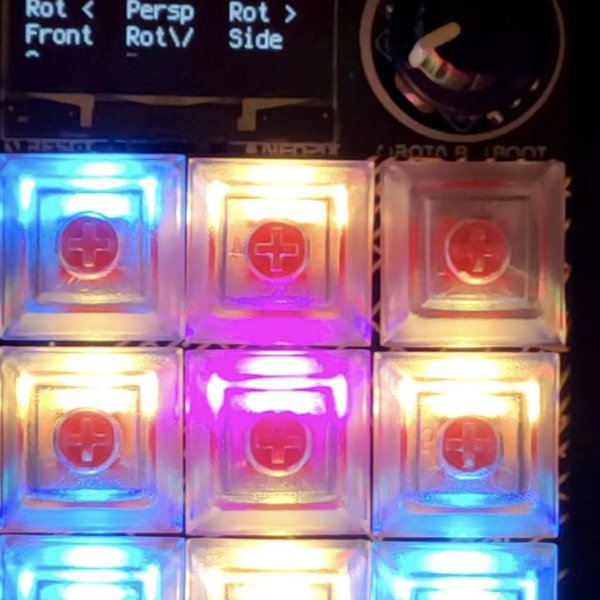
Photos: hackaday.io
Key Facts
- Board: Adafruit MacroPad RP2040
- Language: CircuitPython
- Features: HID, mouse, MIDI, sleep
- Profiles: Blender, DaVinci, drums and more
About This Project
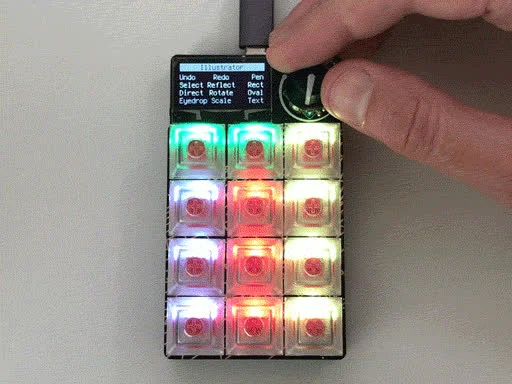
This rebuild of Adafruit's MacroPad Hotkeys example adds sleep to avoid burn-in, HID consumer controls, mouse and MIDI support, and several ready-made macro packs (Blender, DaVinci Resolve, a MIDI drum kit). The Adafruit MacroPad combines an RP2040, a rotary encoder, a small OLED and 12 RGB-backlit keys in one kit. A friendly intro to CircuitPython HID.
Source & Attribution
Parts Needed
- Adafruit MacroPad RP2040 (with keyswitches and keycaps)
- USB data cable
Steps
- 1
Install CircuitPython
Download the CircuitPython 10.x UF2 for the MacroPad from circuitpython.org. Hold the encoder button while plugging in to open the bootloader drive, then copy the UF2 onto it.
- 2
Copy the project
From the repo's latest release, extract the code and the bundled precompiled Adafruit libraries onto the CIRCUITPY drive.
- 3
Add some macros
Copy one or more example files from macros/examples into the macros folder, or paste one from the project wiki.
- 4
Write your own pages
Each macro file sets a name, its position in the page order, the key labels and LED colours, the key sequences, and optional encoder actions. The example.py file shows every option.
- 5
Edit later
CIRCUITPY must be mounted read/write to change files. Follow the README's update steps to reboot into that mode, edit, then reboot again.
- 6
Use it
Press and turn the encoder to pick a page. If the pad only has power and no USB HID connection, the LEDs stay off and a message appears on screen.
| Part | Qty | Role | Est. Price | Buy |
|---|---|---|---|---|
| 1 | kit | $45–$55 | View |
Not included: 3D-printed case, wire, solder, USB cable
Related Projects