Open-source ESP32 touchscreen smart thermostat
A cloud-free ESP32 thermostat with touchscreen UI, Home Assistant integration and forecast-aware behaviour.
Photos
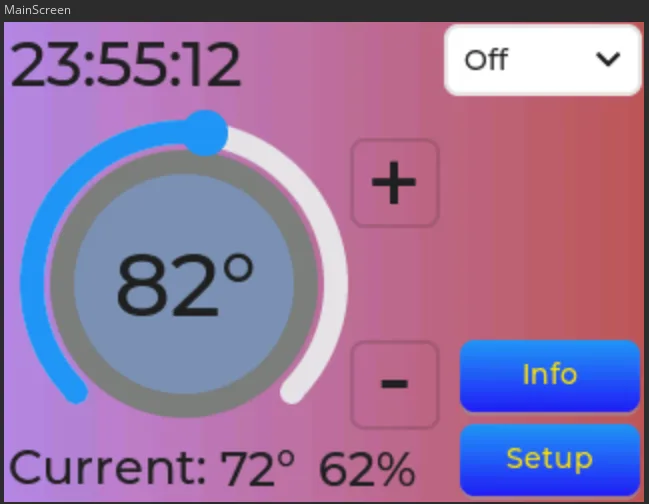
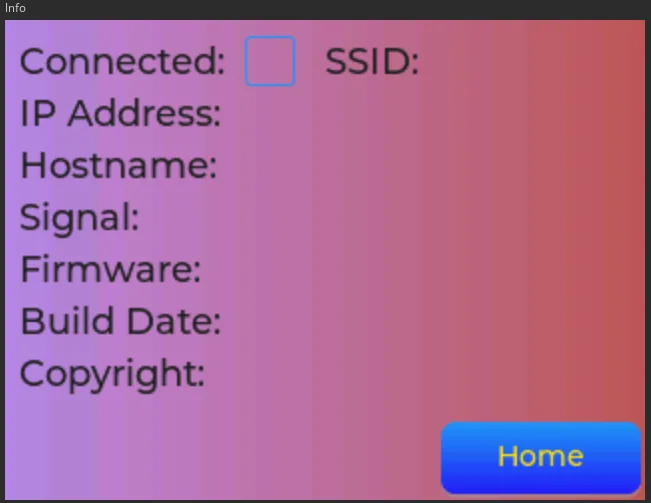
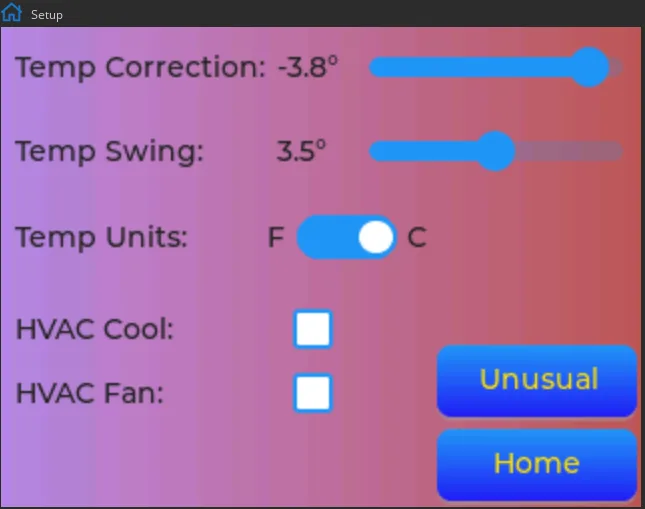
Photos: smeisner/smart-thermostat
Key Facts
- Chip: ESP32
- UI: touchscreen, no buttons
- Integration: Home Assistant (Matter planned)
- Output: HVAC relay control
About This Project
This thermostat project aims to be genuinely smart without the cloud: it connects over Wi-Fi to Home Assistant, is configured on a touchscreen, hosts a local web UI and adjusts its behaviour based on the forecast and open windows. Matter support is on the roadmap. It switches HVAC circuits, so wiring knowledge (24 VAC) is required.
Source & Attribution
Parts Needed
- ESP32 module or the project's PCB
- Touchscreen display
- Temperature/humidity sensor
- Relays for heating, cooling and fan (low-voltage 24VAC HVAC)
- Power supply for the 24VAC system
Steps
- 1
Assemble the hardware
Build the PCB or wire the ESP32, touchscreen, sensor and relays according to the repo's schematics. HVAC control wiring is 24VAC; switch the breaker off before touching it.
- 2
Set up PlatformIO
The firmware is pure ESP-IDF but builds through PlatformIO. Open the repo in VS Code with PlatformIO and let it fetch the libraries pinned in platformio.ini.
- 3
Build and flash
Do a clean build (the partition scheme has changed between versions), then upload over USB.
- 4
Configure on the device
Use the touchscreen to join Wi-Fi and set your HVAC options, then add your MQTT broker so Home Assistant can see it.
- 5
Tips
You can telnet into the thermostat for config and monitoring. It has no password, so keep it on a trusted network.
Not included: 3D-printed case, wire, solder, USB cable
Related Projects