OpenEPaperLink: reuse e-ink shelf labels with an ESP32 access point
Turns cheap second-hand electronic shelf labels into a Wi-Fi-managed e-ink display fleet via an ESP32 access point.
Key Facts
- Chips: ESP32-S3 (AP) + ESP32-C6/H2 or tag radio
- Displays: recycled e-ink shelf labels
- Integration: Home Assistant
- Connectivity: Wi-Fi + IEEE 802.15.4
About This Project
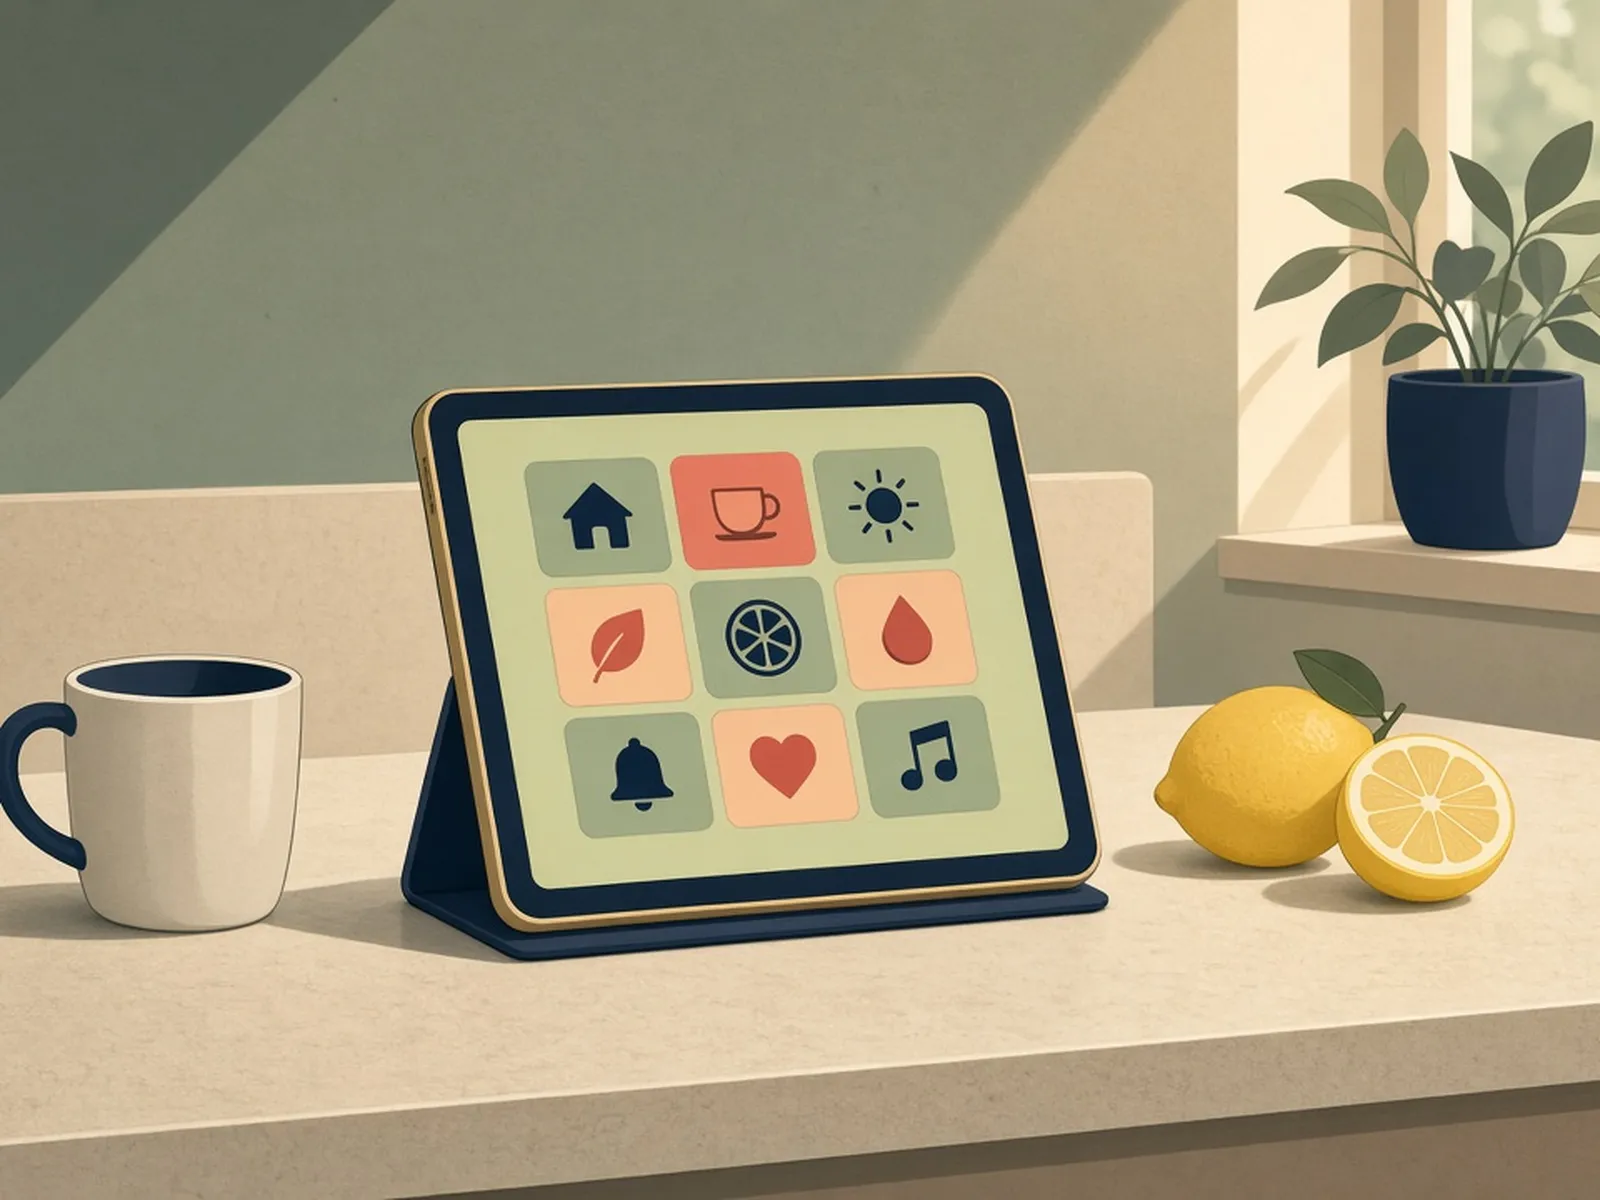
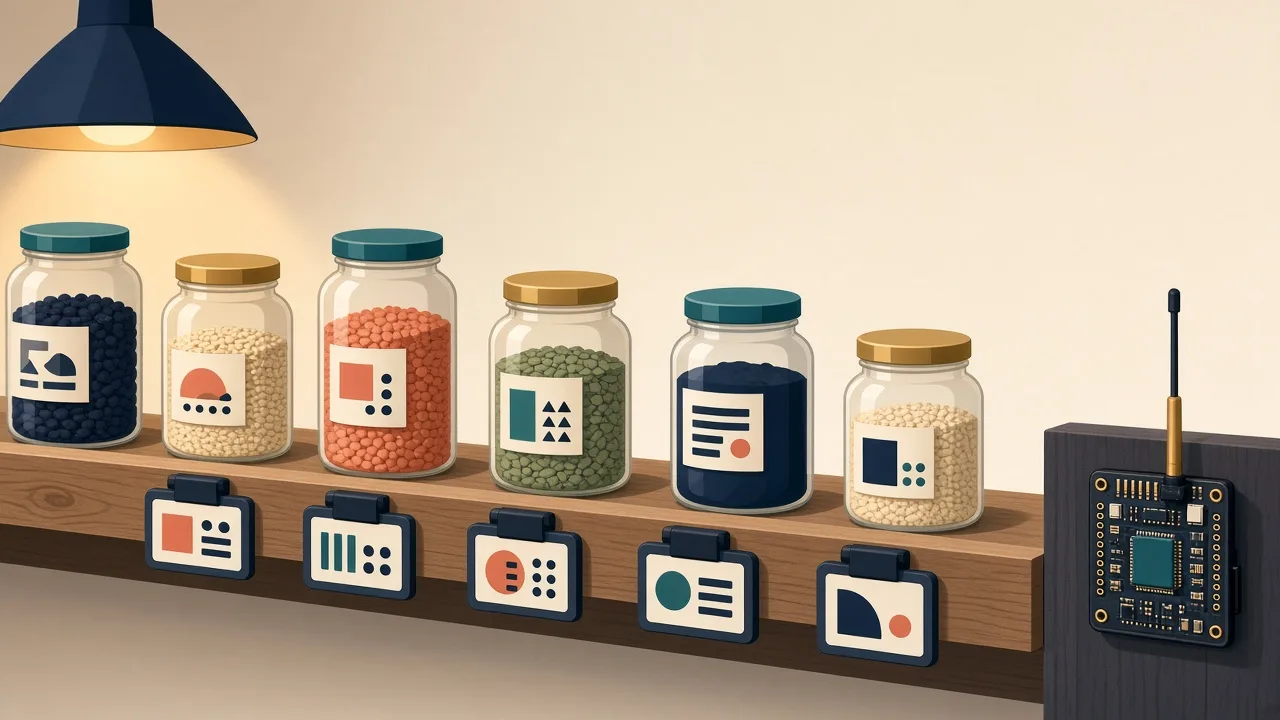
OpenEPaperLink replaces the proprietary firmware on retail electronic shelf labels (ESLs) and drives them from an ESP32-based access point. The AP talks to tags over 802.15.4 and serves a web UI where you assign content: clocks, weather, calendars, Home Assistant data or images. A Home Assistant integration exists, which makes it a popular way to sprinkle tiny battery-powered e-ink displays around a house for very little money. Flashing tags requires some care, and supported tag models are listed on the project wiki.
Source & Attribution
Illustration
Parts Needed
- ESP32-S3 board for the access point
- 802.15.4 radio: a spare tag wired to the ESP32, or an ESP32-C6/H2 (see the wiki)
- Compatible used e-ink shelf labels
- ZBS_Flasher (or the combined flasher/AP board) for flashing the tags
- Fine wires or a flex PCB, plus pogo-pin jigs if you have them
Steps
- 1
Identify your tags
Check the project wiki to confirm your shelf labels are supported and find which flasher and firmware each one needs.
- 2
Build or buy an AP
Either wire a tag to the ESP32 as its radio, or use an ESP32-S3 + C6 access point design from the wiki.
- 3
Flash the AP
Flash the ESP32 firmware and then the filesystem image, which holds the web interface. You need both. The ESP32 flashes the radio tag automatically on boot, though sometimes it takes a power cycle, so watch the serial log.
- 4
Flash the tags
Use the ZBS_Flasher with the 'mac' option to program each tag with the OpenEPaperLink firmware, so every tag keeps a unique address.
- 5
Pair and push content
Power the tags near the AP and they'll appear in its web UI. Assign content such as text, images, weather or a calendar, or install the Home Assistant integration.
- 6
Tips
Tags are fragile, and even hot glue can warp the PCB. If you build from source, run make clean between boards and use SDCC 4.2.0.
| Part | Qty | Role | Est. Price | Buy |
|---|---|---|---|---|
| 1 | access point | $10–$18 | View | |
ESP32-C6 or ESP32-H2 (802.15.4) – see wiki | 1 | radio | — | — |
Compatible e-ink shelf labels (various sizes) Used tags; check supported-tags list | 1+ | display | — | — |
Not included: 3D-printed case, wire, solder, USB cable
Related Projects