X-Knob: LVGL smart knob for MQTT smart home and Surface Dial
An ESP32-S3 smart knob inspired by SmartKnob, with an LVGL UI, MQTT smart-home control and Surface Dial mode.
Photos
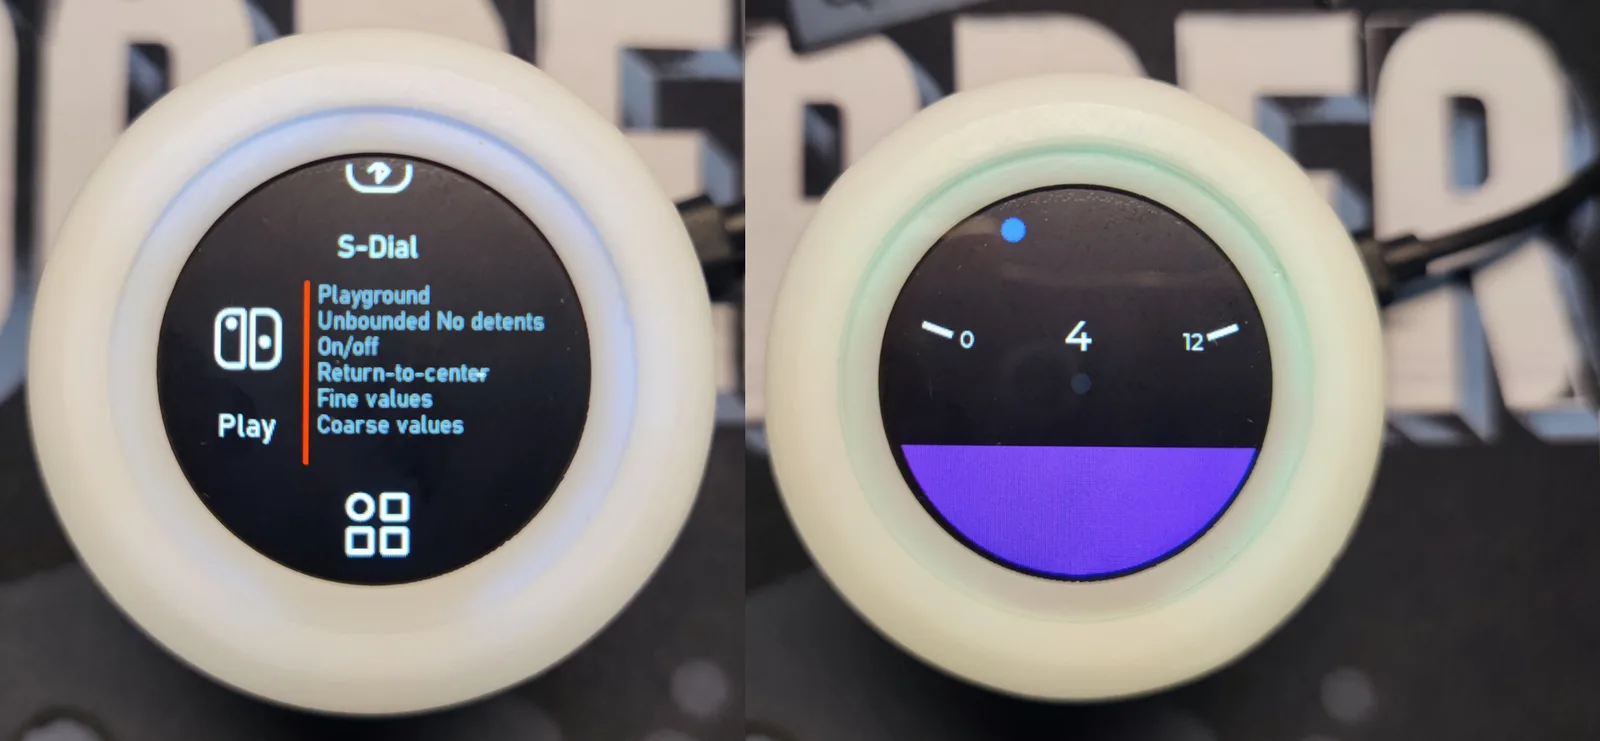
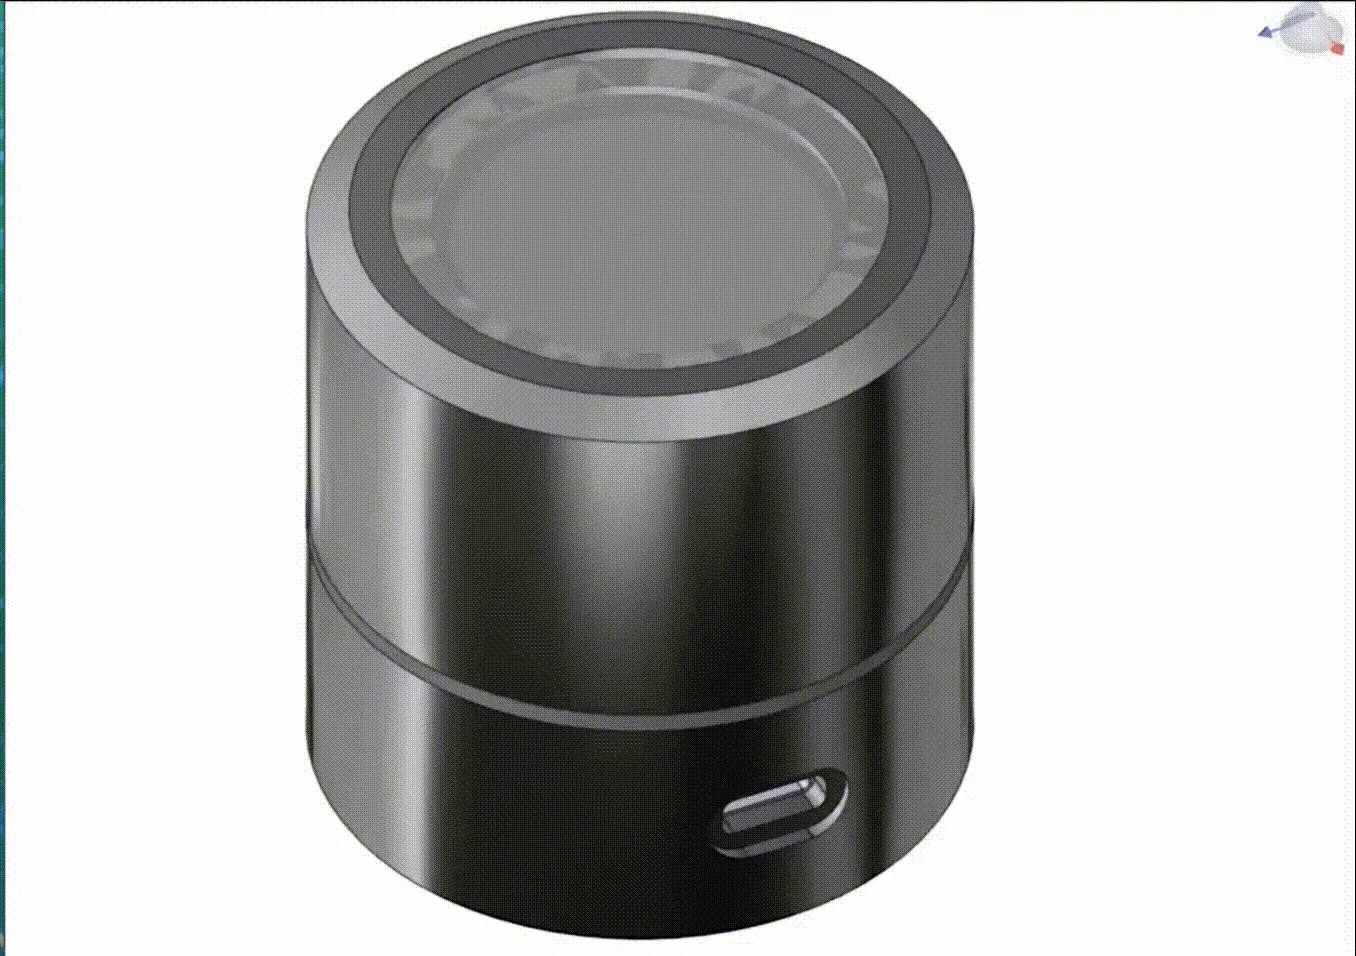
Photos: SmallPond/X-Knob
Key Facts
- Chip: ESP32-S3
- UI: LVGL on round display
- Modes: MQTT smart home, Surface Dial (BLE HID)
- Haptics: BLDC + FOC
About This Project
X-Knob builds on SmartKnob's idea of a haptic, motor-driven knob but uses a cheaper motor and a straight cylindrical design, and replaces the UI with LVGL. It can control smart-home devices over MQTT (for example Home Assistant lights) and act as a Bluetooth Surface Dial for a PC. Documentation is primarily in Chinese with an English README.
Source & Attribution
Parts Needed
- X-Knob PCB (ESP32-S3)
- BLDC gimbal motor
- Magnetic encoder
- Round 240x240 LCD
- 3D-printed enclosure
Steps
- 1
Assemble
Build the PCB and enclosure from the repo's hardware and CAD files, mounting the motor and encoder as shown.
- 2
Open the firmware
Open the Firmware project in VS Code with PlatformIO. ESP32-S3 support needs the Espressif32 platform 4.4.0 or newer.
- 3
Add your secrets
Copy src/secrets.h.example to src/secrets.h and fill in your Wi-Fi and MQTT server details. You can also set MQTT_HOST in config.h, which becomes part of your MQTT topics.
- 4
No MQTT yet?
Disable MQTT in platformio.ini to keep the smart-home UI for testing without connecting to Wi-Fi or a broker.
- 5
Build and flash
Build and upload from PlatformIO. To flash a release binary instead, write it at offset 0x10000, because it only contains the app partition.
- 6
Tips
If you see 'sdkconfig.h not found', update the PlatformIO espressif32 platform. Brightness, Wi-Fi and MQTT can later be changed from the web settings page.
Not included: 3D-printed case, wire, solder, USB cable
Related Projects