XZG: ESP32 network Zigbee coordinator firmware
Firmware for ESP32 + CC2652 boards that turns them into Ethernet or Wi-Fi Zigbee coordinators for Zigbee2MQTT and ZHA.
Key Facts
- Chip: ESP32
- Radio: TI CC2652P/CC2652P7
- Uplink: Ethernet (LAN8720) or Wi-Fi
- Software: Zigbee2MQTT, ZHA
About This Project
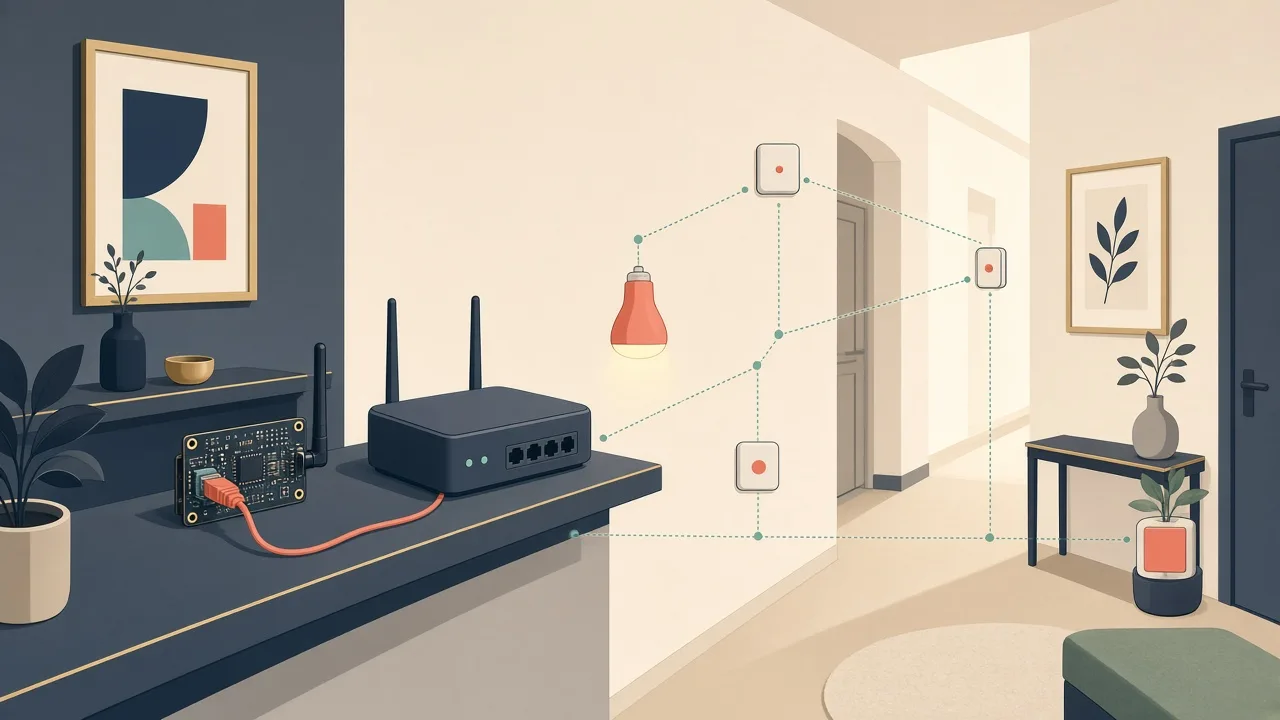
XZG unifies earlier community Zigbee gateway projects into one firmware for ESP32 boards paired with a TI CC2652 radio. The ESP32 bridges the radio's serial port over Ethernet or Wi-Fi so Home Assistant (ZHA) or Zigbee2MQTT can use it remotely, letting you place the coordinator centrally in the house. A web UI handles radio firmware updates and settings.
Source & Attribution
Illustration
Parts Needed
- ESP32 coordinator board with a CC2652P/P7 module (e.g. SLZB or ZigStar-style)
- LAN8720 Ethernet (recommended) or Wi-Fi
- Network cable / PoE if supported
- Home Assistant with ZHA or Zigbee2MQTT
Steps
- 1
Flash XZG
Open the XZG Web Flasher, connect the ESP32 over USB and install the build for your hardware. Follow the guide for your device model.
- 2
Connect to the network
Plug in Ethernet (preferred for stability), or join the setup hotspot to configure Wi-Fi.
- 3
Open the web UI
Browse to the coordinator's IP to update the Zigbee radio firmware and set network options. Note the TCP port (6638 by default).
- 4
Point your Zigbee stack at it
In Zigbee2MQTT set serial port to tcp://IP:6638, or in ZHA choose a socket connection to the same address.
- 5
Build from source (optional)
Install Python, npm and PlatformIO, then run pio run (add -e env_name -t upload to build one environment and flash it).
Not included: 3D-printed case, wire, solder, USB cable
Related Projects