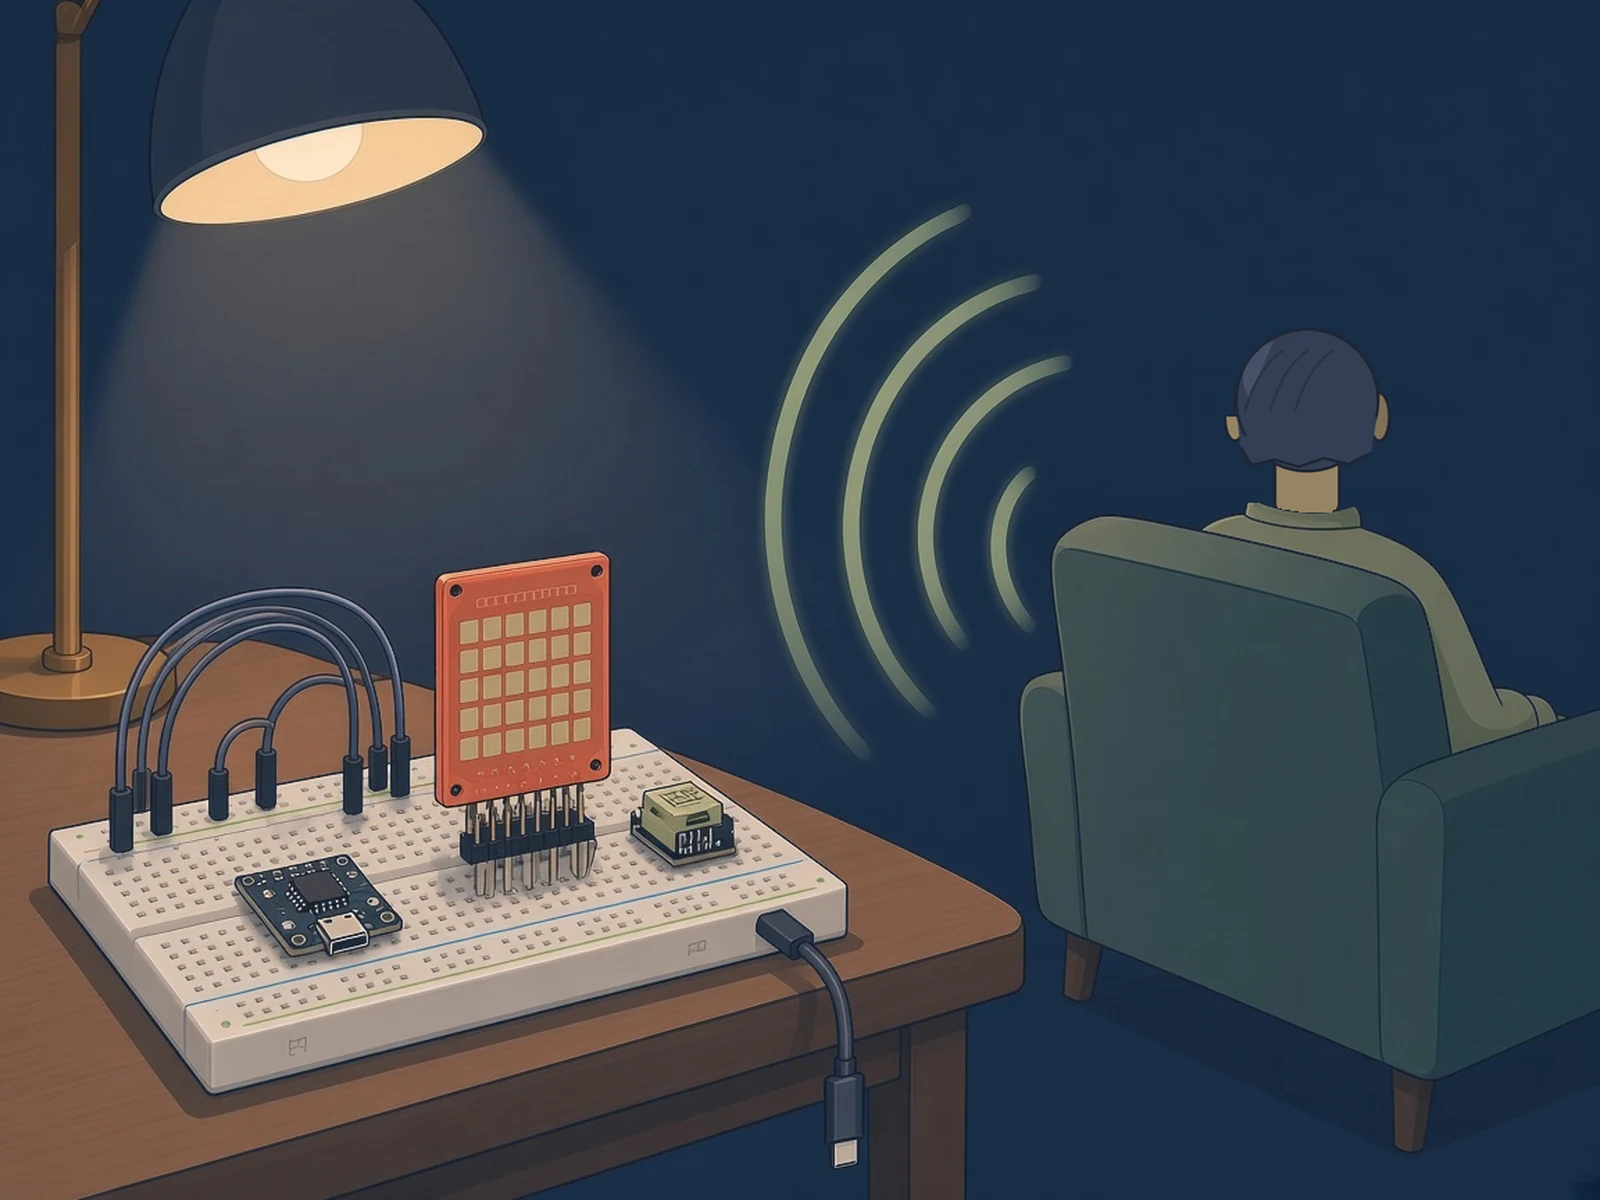
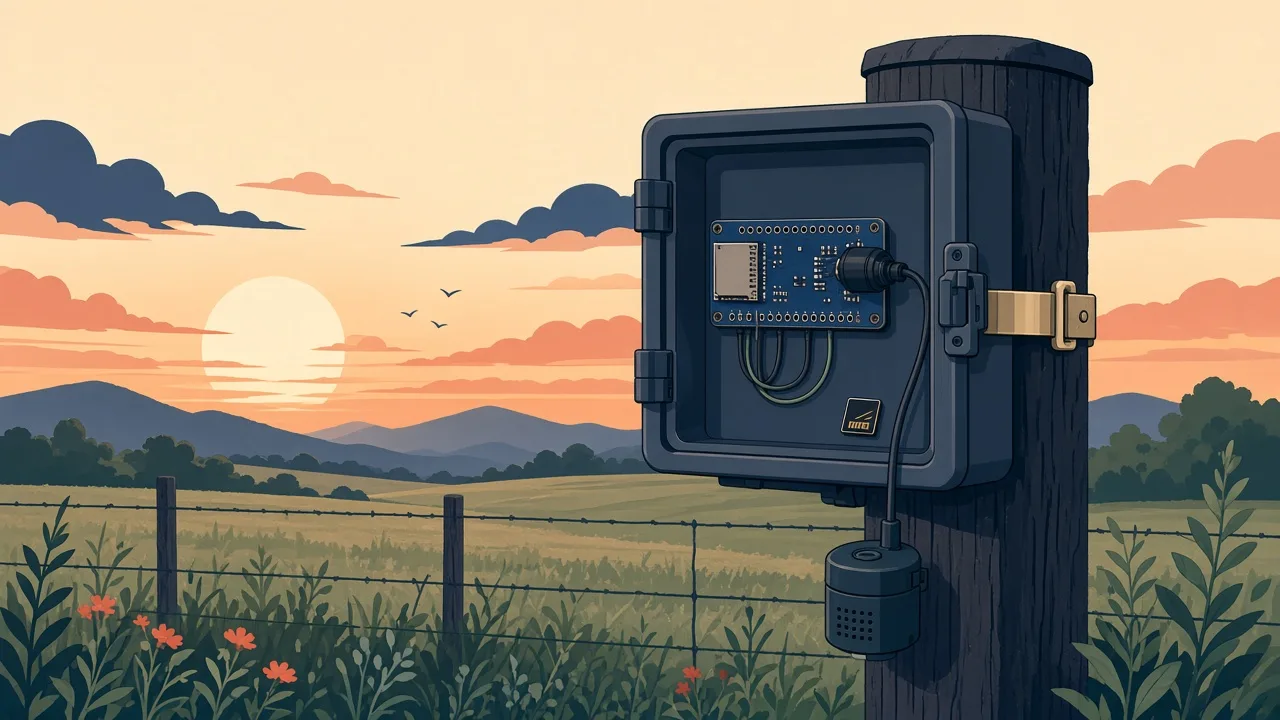
ESP32 freezer alarm: a DS18B20 probe that emails you when the freezer warms up
A build pattern for a temperature alarm: an ESP32, a waterproof DS18B20 probe and a web setup page that emails you when the reading crosses your setpoint.
What it is
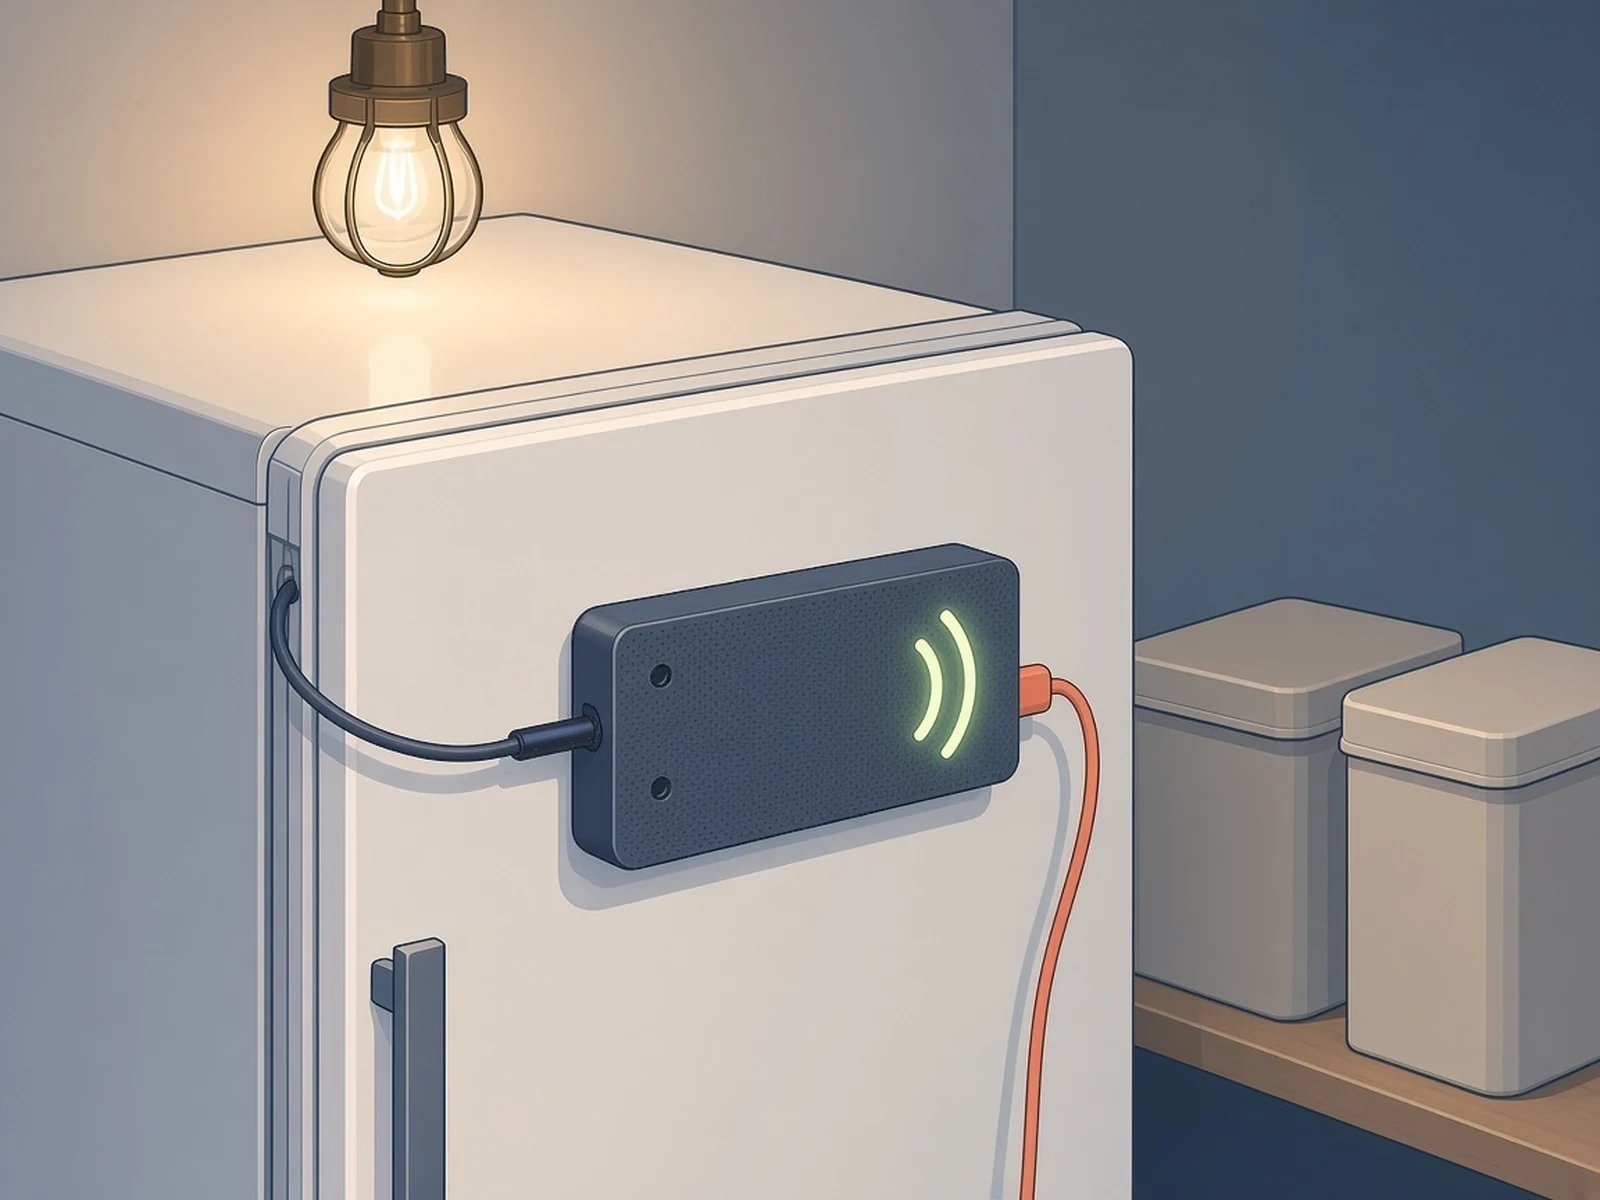
A Wi-Fi temperature alarm that emails you when your freezer gets too warm.
What you need
- ESP32 dev board (ESP32-WROOM-32, e.g. DevKitC V4)
- DS18B20 waterproof probe
- 4.7 kΩ pull-up resistor unless the probe board has one
- USB wall charger
How hard
Intermediate: three wires, Arduino IDE or PlatformIO with a few libraries.
Key Facts
- Email alert above the setpoint, and again when it recovers
- Wi-Fi setup portal: Wi-Fi, email, timezone, °F/°C, InfluxDB 1.8, probe pin
- OTA updates from v2.4 (change the default password)
- Author uses GPIO 4
- MIT
About This Project
This is a simple, adaptable build pattern rather than a polished product: an ESP32 reads a waterproof DS18B20 probe and sends an email alert when the temperature goes over your setpoint, then another when it comes back down. Fishrider24's version (the README credits the code and its modifications to Evan Potts, starting from Random Nerd Tutorials examples) updates the code for ESP32 Arduino core 3.x and adds a Wi-Fi setup portal, so you set the Wi-Fi, email sender, timezone, Fahrenheit or Celsius, an optional InfluxDB 1.8 server and even the probe's GPIO pin from a web page instead of in code. The author uses GPIO 4. Version 2.4 added OTA updates (change the default password), and 2.6 shows the last ten email successes or failures on the main page so a broken mail setup doesn't go unnoticed. It sends through Gmail with an app password by default. Why it matters in an outage: Ready.gov says a full freezer keeps its temperature for about 48 hours if you keep it closed, and to throw food out if it reaches 40 °F or higher. An alarm tells you when you're getting close. The ESP32 and your router both need power and internet to send the email, so put them on a UPS or power bank if you want alerts during a power cut. The README notes that AT&T no longer delivers email-to-text, and Verizon is expected to drop it, so use a normal email inbox with notifications.
Source & Attribution
Illustration
Parts Needed
- ESP32 dev board (ESP32-WROOM-32, e.g. DevKitC V4)
- DS18B20 waterproof probe
- 4.7 kΩ resistor (unless the probe board has one)
- USB wall charger
- USB data cable
- Gmail account with an app password
Steps
- 1
Wire the probe
Our wiring (the README has no diagram): probe red to 3.3 V, black to GND and the data wire (usually yellow; check your probe's colours) to GPIO 4, the pin the author uses. If you pick another pin in the portal, avoid the strapping pins (0, 2, 5, 12, 15) and the input-only pins 34–39. Our note: add a 4.7 kΩ pull-up from data to 3.3 V unless your probe's adapter board already has one.
- 2
Install the libraries
Install the libraries in the README (ESP32 Arduino core 3.x, ESPAsyncWebServer, AsyncTCP, DallasTemperature, OneWire, ReadyMail, ESP8266 Influxdb). Remove old copies of ESPAsyncWebServer and AsyncTCP first.
- 3
Upload
For v2.4 and later, select the custom partition scheme, upload the sketch, then upload the data folder (two HTML files and a CSS file) to SPIFFS.
- 4
Set it up
Join the setup access point, enter your Wi-Fi, Gmail sender and app password, timezone, °F/°C, setpoint and the probe's GPIO pin. Change the default OTA/setup password.
- 5
Place it
Our tip: run the thin probe lead in through the door seal, keep the ESP32 outside, and check that the door still closes fully. For alerts during a power cut, the ESP32 and your router both need power, so put them on a UPS or power bank.
Bill of Materials
Parts list
5 parts · 4 linked
Heads up: some Buy links are affiliate links. If you buy through one, MCU Atlas may earn a small commission at no extra cost to you. It never changes which parts we list. How this works



Not included: Gmail account with an app password, 3D-printed case (optional, linked from the README)
Related Projects