OWLOS Flight Radar: live plane radar on the Cheap Yellow Display
Turn a Cheap Yellow Display into a touch-screen radar of the planes flying around your home, using free community ADS-B feeds and OpenStreetMap. You flash it from a web page and set it up on the screen itself.
What it is
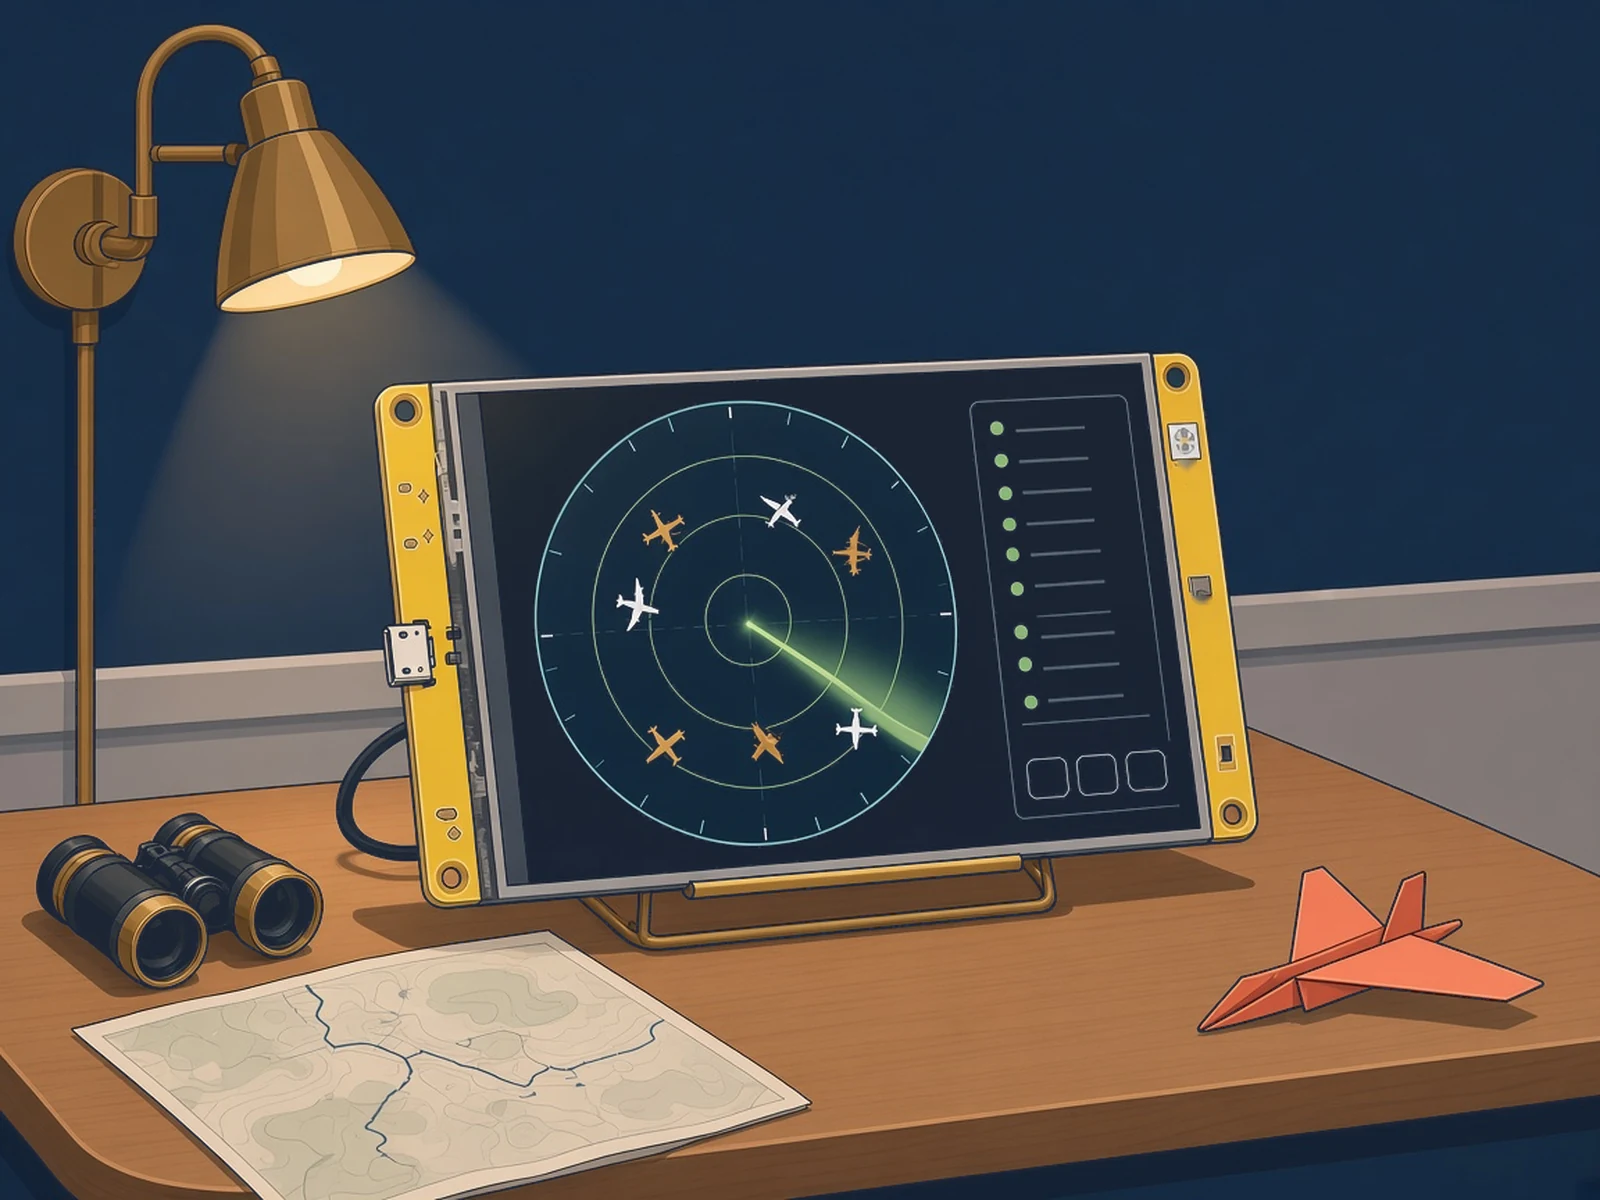
A touch-screen radar of the real planes flying around your home, on a cheap ESP32 display.
What you need
- 2.8" Cheap Yellow Display or the 3.5in ESP32-3248S035
- USB data cable
How hard
Beginner: no wiring or soldering. Flash it from a web page, then type your Wi-Fi and home on the screen.
Photos
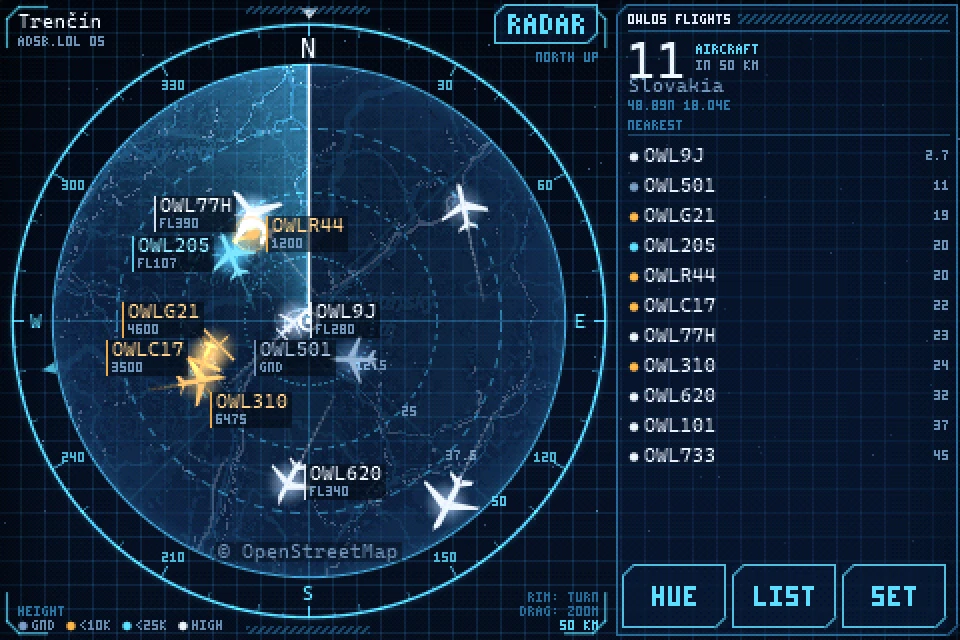
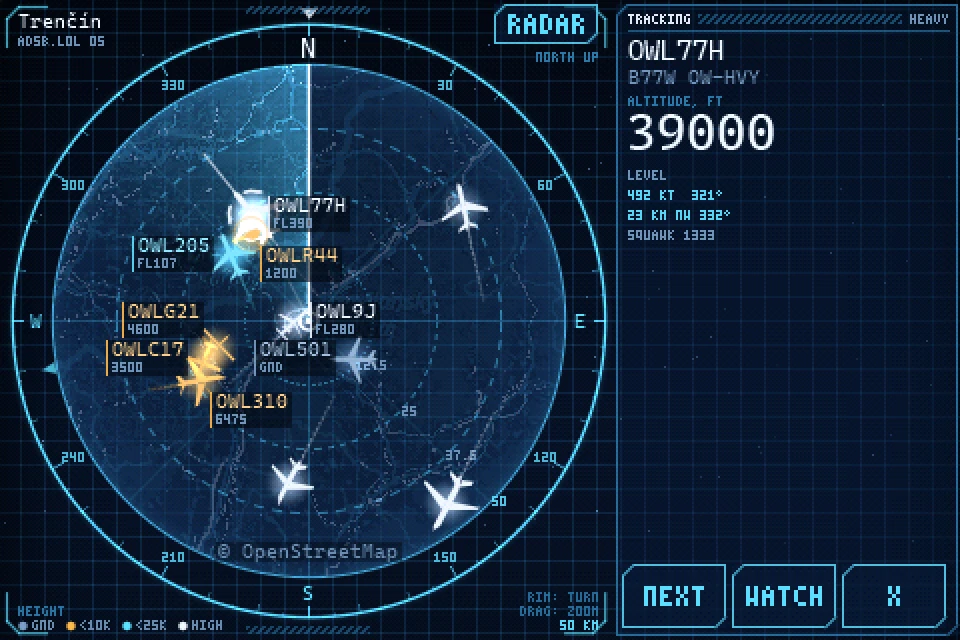
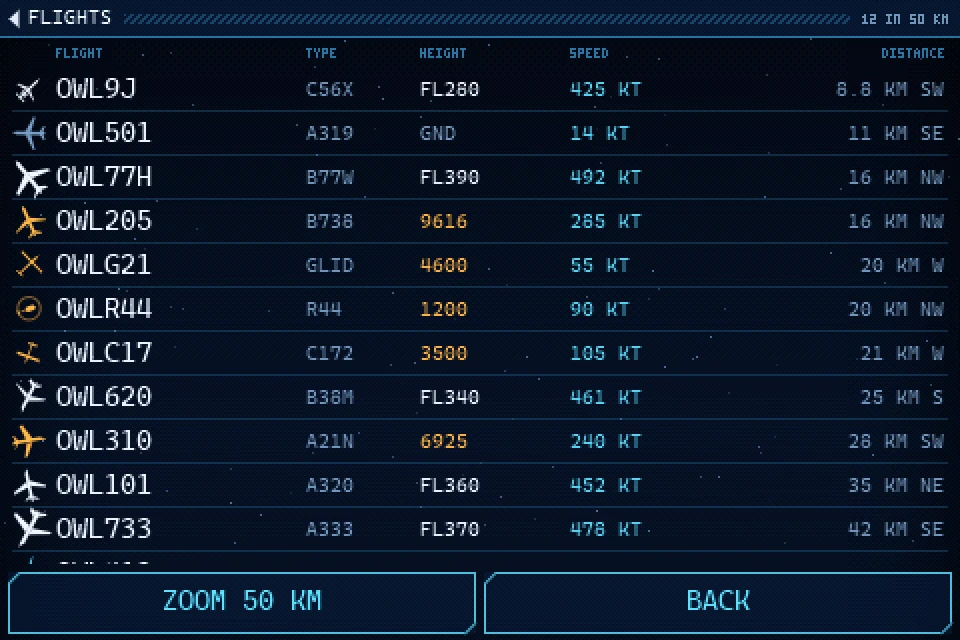
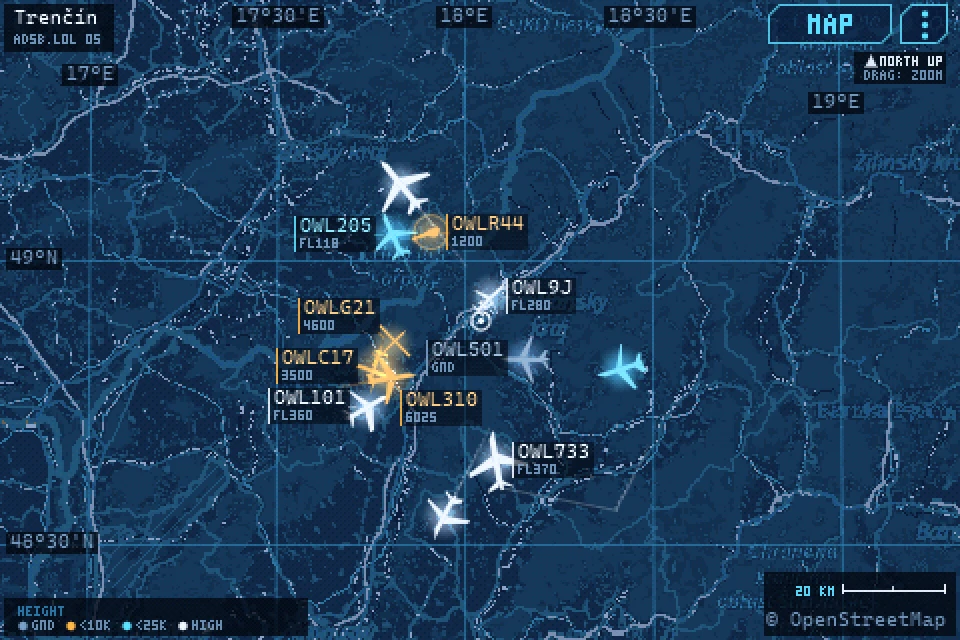
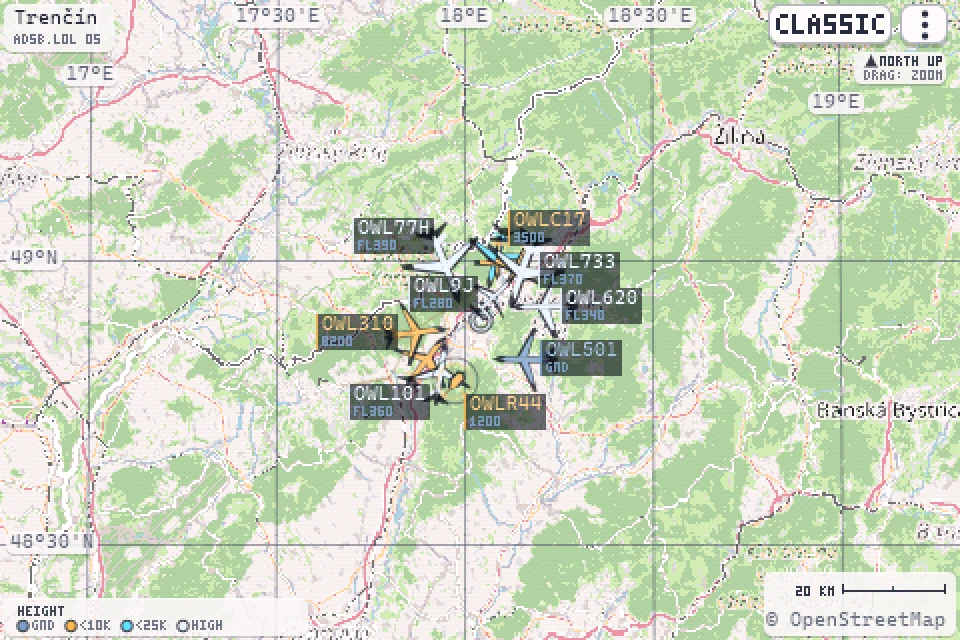
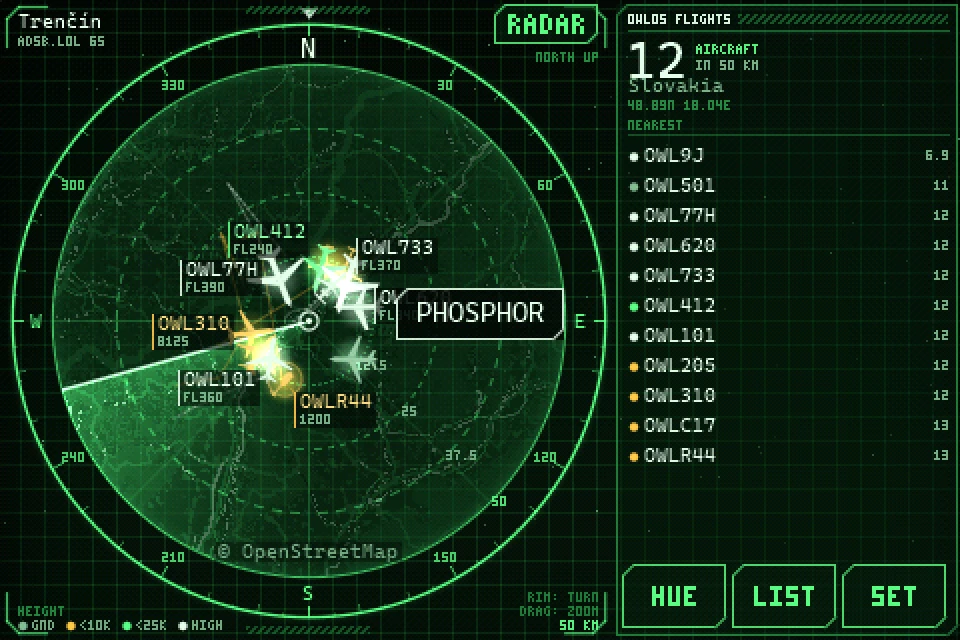
Photos: KirinDenis/OWLOS-FLIGHT-RADAR (MIT)
Key Facts
- Main boards: the 2.8in Cheap Yellow Display (ESP32-2432S028R) and the 3.5in ESP32-3248S035; builds also exist for several other ESP32, ESP32-S3, ESP32-C3 and ESP32-C5 screens
- Some builds (LCDWIKI ES3C28P, NM-CYD-C5, Elecrow CrowPanel Advance 2.8in) haven't been tested on real hardware yet, per the author
- Aircraft data from adsb.lol and adsb.fi (free), or Flightradar24 with your own key; no SDR receiver needed
- Flash from the browser (Chrome or Edge on a computer, Web Serial); phones and Firefox can't flash it
- Wi-Fi and home location are set on the touch screen, or from the web page over USB; 2.4 GHz Wi-Fi only
- The feed only receives your home location rounded to about a kilometre, per the README
- Zoom from 2 to 250 km; watch list of up to 8 aircraft; emergency-squawk alerts on the board's built-in LED
- Firmware is ESP-IDF 5.5, MIT licence; map data © OpenStreetMap contributors (ODbL)
About This Project
OWLOS Flight Radar shows the aircraft around your home on a small ESP32 touch screen. Each plane is drawn as a silhouette pointing the way it flies, coloured by altitude, with a short trail behind it. Tap one to see its callsign, type, registration, altitude, speed and squawk. Plane positions come over Wi-Fi from the free community ADS-B networks adsb.lol and adsb.fi, or from Flightradar24 if you have your own API key, so there is no radio or antenna to build. The map underneath comes from OpenStreetMap tiles, which the board caches in its flash. You can switch between a sweeping radar scope, a plain map and OpenStreetMap's own colours, drag the rim to rotate the map, and drag inside to zoom from 2 to 250 km. A watch list of up to 8 aircraft tells you when one comes into range, takes off or lands, and on the 2.8in and 3.5in Cheap Yellow Displays the built-in LED on the back can flag emergency squawks. Installation is browser-based: open the project's web flasher in Chrome or Edge on a computer, plug the board in and press flash, then enter Wi-Fi and your home location on the touch screen. Without Wi-Fi it runs a demo sky.
Source & Attribution
Parts Needed
- ESP32-2432S028R 2.8in Cheap Yellow Display (or the 3.5in ESP32-3248S035)
- USB data cable
- A computer with Chrome or Edge
Steps
- 1
Open the web flasher
Open the project's flasher page in Chrome or Edge on a computer (a Chromebook works too). Phones and Firefox can't flash over Web Serial.
- 2
Flash the board
Plug the board in with a data cable, press the flash button under your board, pick its port and allow the erase. No port? On Windows you may need the CH340 driver; if it won't connect, hold BOOT while plugging it in.
- 3
Calibrate the touch
Touch boards ask once for five crosses to be pressed so the touch lines up with the screen. On the 2.8in CYD, if colours look wrong or the picture is mirrored, press BOOT in the first seconds after power-on to switch screen versions.
- 4
Join Wi-Fi and set home
Without Wi-Fi it shows a demo sky. Tap SET UP WIFI, pick your 2.4 GHz network and type the password, then set your home under SET as a town, postcode or coordinates.
- 5
Use the radar
Tap a plane for details, drag the rim to rotate the map, drag inside to zoom, and switch between radar, map and classic looks. Add aircraft to the watch list to be told when they come in range.
- 6
Update later
Use the same flash button but don't erase: the board keeps its Wi-Fi, home and watch list. A small NEW VERSION note on screen tells you when an update is out.
Bill of Materials
Parts list
3 parts · 2 linked
Heads up: some Buy links are affiliate links. If you buy through one, MCU Atlas may earn a small commission at no extra cost to you. It never changes which parts we list. How this works


Not included: A computer with Chrome or Edge for the web flasher, A 2.4 GHz Wi-Fi network, A Flightradar24 API key (optional)
Related Projects