OpenDisplay: open firmware for Bluetooth e-paper dashboards in Home Assistant
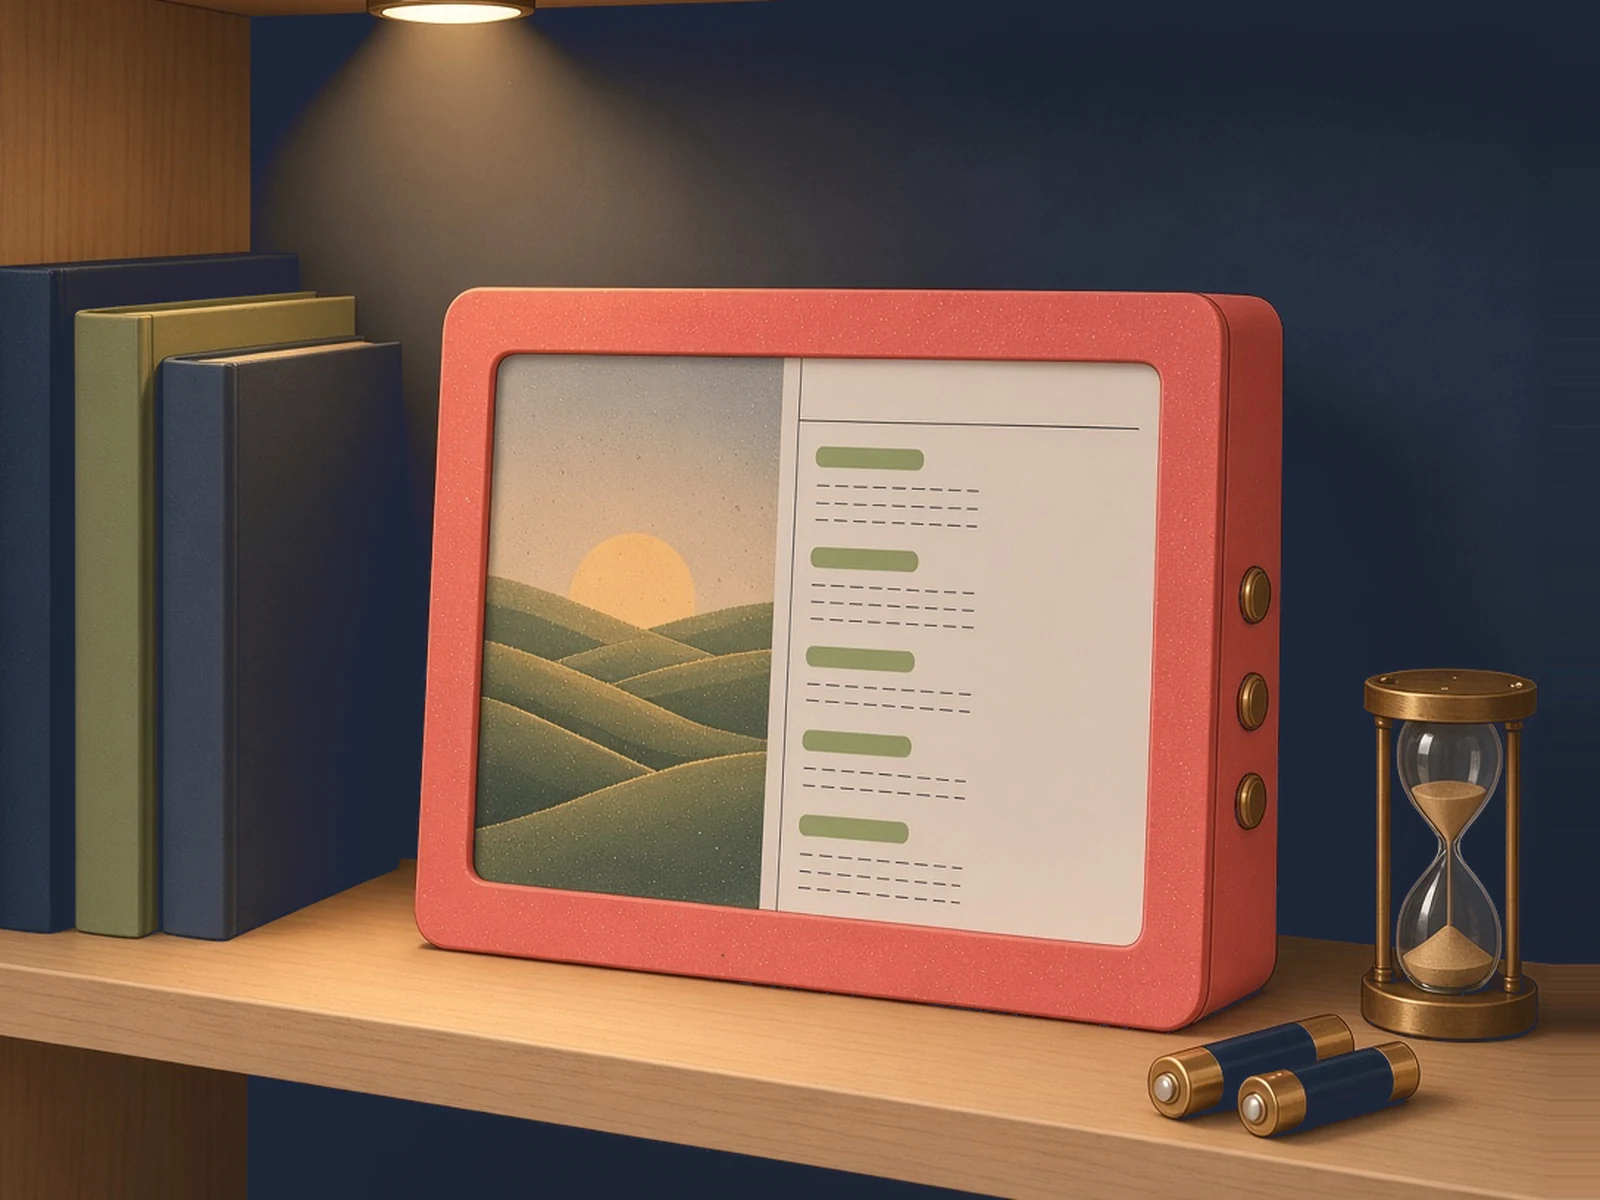
Open GPL-3.0 firmware that turns an nRF52840 or ESP32 e-paper board into a battery-friendly Bluetooth display you can flash from the browser and fill from Home Assistant. Seeed now sells two ready-made kits for it.
What it is
Open firmware that makes an e-paper screen a low-power Bluetooth display for Home Assistant, now also sold as two ready-made Seeed kits.
What you need
- OpenDisplay 4.26" Mono Kit or the 7.3in colour kit
- OpenDisplay 7.3" Color Kit
- Or build: Seeed XIAO EN05 driver board plus a 4.26in panel
- USB-C data cable
How hard
Beginner with a kit: power it on and pair it in Home Assistant. Building your own means plugging a panel into a driver board and flashing it from a web page, still with no soldering.
Photos
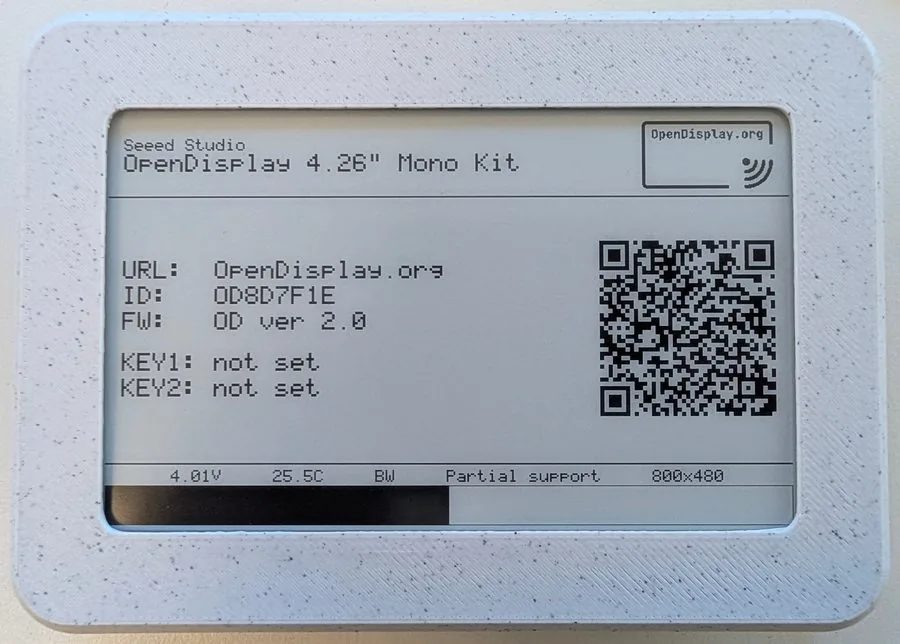
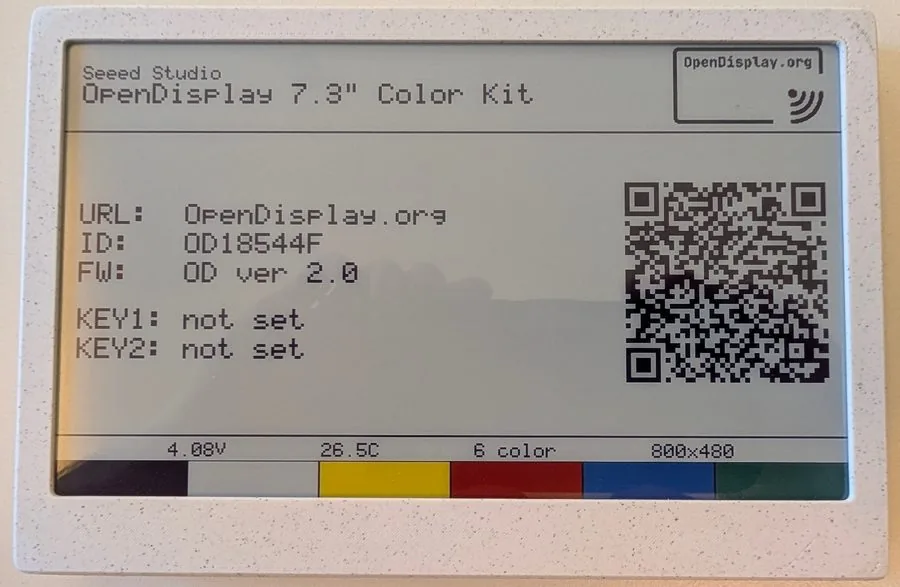
Photos: OpenDisplay/Home_Assistant_Integration (Apache-2.0)
Key Facts
- Firmware supports nRF52840, ESP32-S3, ESP32-C3 and ESP32-C6 boards; GPL-3.0 licence
- Flash and configure in the browser with the OpenDisplay Toolbox (Web Serial / Web Bluetooth); no IDE needed
- Seeed kits (launched 3 Nov 2026): 4.26in 800×480 black-and-white with an XIAO EN05 board, and 7.3in 800×480 Spectra 6 colour with an XIAO EN04 board. Both have a 2000 mAh battery and 3D-printed case and ship with the firmware installed
- The kits are Bluetooth Low Energy only (no Wi-Fi) and keep listening in a low-power mode, so a new image can arrive without a wake-up step
- Home Assistant integration (Apache-2.0, HA 2026.7.0 or newer): needs a Bluetooth adapter or an ESPHome Bluetooth proxy in range; installs through HACS
- Integration features: draw text, shapes and images, battery and signal sensors, button events, firmware updates over Bluetooth, optional encryption key
- Partial refresh: the 7.3in colour panel has none. CNX Software lists black-and-white partial refresh on the 4.26in kit, but OpenDisplay's Seeed compatibility table marks that panel 'No', so don't count on it
About This Project
OpenDisplay is open firmware for e-paper screens that get their pictures over Bluetooth Low Energy. The screen is the 'receiver': it holds the picture and sleeps. A 'sender', usually Home Assistant through the OpenDisplay integration, draws the image, dithers it for the panel and sends it across. The firmware runs on nRF52840, ESP32-S3, ESP32-C3 and ESP32-C6 boards, and you flash and set it up from a web page (the OpenDisplay Toolbox) over USB or Bluetooth, with no toolchain to install. On 3 November 2026 Seeed launched two kits built with the OpenDisplay team that ship assembled with the firmware already on them: a 4.26in black-and-white kit and a 7.3in six-colour Spectra 6 kit. Both use a Seeed XIAO ePaper driver board (EN05 or EN04, both nRF52840), a 2000 mAh battery and a 3D-printed case, and they are Bluetooth only, with no Wi-Fi. If you'd rather build one, the same firmware runs on Seeed's XIAO ePaper driver boards with a matching panel, or on Wi-Fi models such as the reTerminal E1001. In Home Assistant you can push text, shapes and images, read the battery (and temperature on boards with a sensor), react to button presses and update the firmware over Bluetooth.
Source & Attribution
Parts Needed
- OpenDisplay 4.26" Mono Kit or 7.3" Color Kit, or a Seeed XIAO EN05 board with a 4.26in panel
- USB-C data cable
- Home Assistant with Bluetooth or an ESPHome Bluetooth proxy
Steps
- 1
Pick your hardware
The quickest route is one of the two Seeed kits: they arrive assembled with the firmware installed. To build your own, OpenDisplay's hardware page lists the driver boards and panels that work, such as the XIAO EN05 with a 4.26in panel.
- 2
Flash a self-built board
Skip this with a kit. Otherwise open the OpenDisplay Toolbox, pick your board and panel, and flash it over USB from the browser. Then send a test picture over Bluetooth to check the panel works.
- 3
Check Bluetooth reach
Home Assistant must be able to hear the display. Use a Bluetooth adapter on the Home Assistant machine, or an ESPHome Bluetooth proxy near the display.
- 4
Install the integration
Install the OpenDisplay integration through HACS as a custom repository (or copy it in by hand) on Home Assistant 2026.7.0 or newer, restart, and the display should be discovered.
- 5
Send it something
Use the integration's actions to draw text, shapes and images or upload a picture, from a script or automation. If the display is asleep, the update waits until it wakes.
- 6
Keep it running
The integration shows battery and signal and can update the firmware over Bluetooth. On the kits, charge the battery over USB-C.
Available as a complete kit
Ready-made 4.26in black-and-white Bluetooth e-paper display with OpenDisplay firmware installed. The 7.3in colour kit is in the parts list below.
Part details in our parts libraryHeads up: some Buy links are affiliate links. If you buy through one, MCU Atlas may earn a small commission at no extra cost to you. It never changes which parts we list. How this works
Bill of Materials
Parts list
6 parts · 5 linked
Heads up: some Buy links are affiliate links. If you buy through one, MCU Atlas may earn a small commission at no extra cost to you. It never changes which parts we list. How this works

Not included: A Home Assistant server with a Bluetooth adapter or an ESPHome Bluetooth proxy in range (or another OpenDisplay sender), A browser with Web Serial / Web Bluetooth for the Toolbox, A LiPo battery for a self-built EN05 board (optional)
Related Projects