picohive-epaper: a Pico 2 W e-paper calendar that runs on AA batteries
A standalone e-paper calendar on a Raspberry Pi Pico 2 W that pulls any iCal feed, such as a Google Calendar, and shows the week ahead. The author says it runs for 2 months on 4 AA batteries.
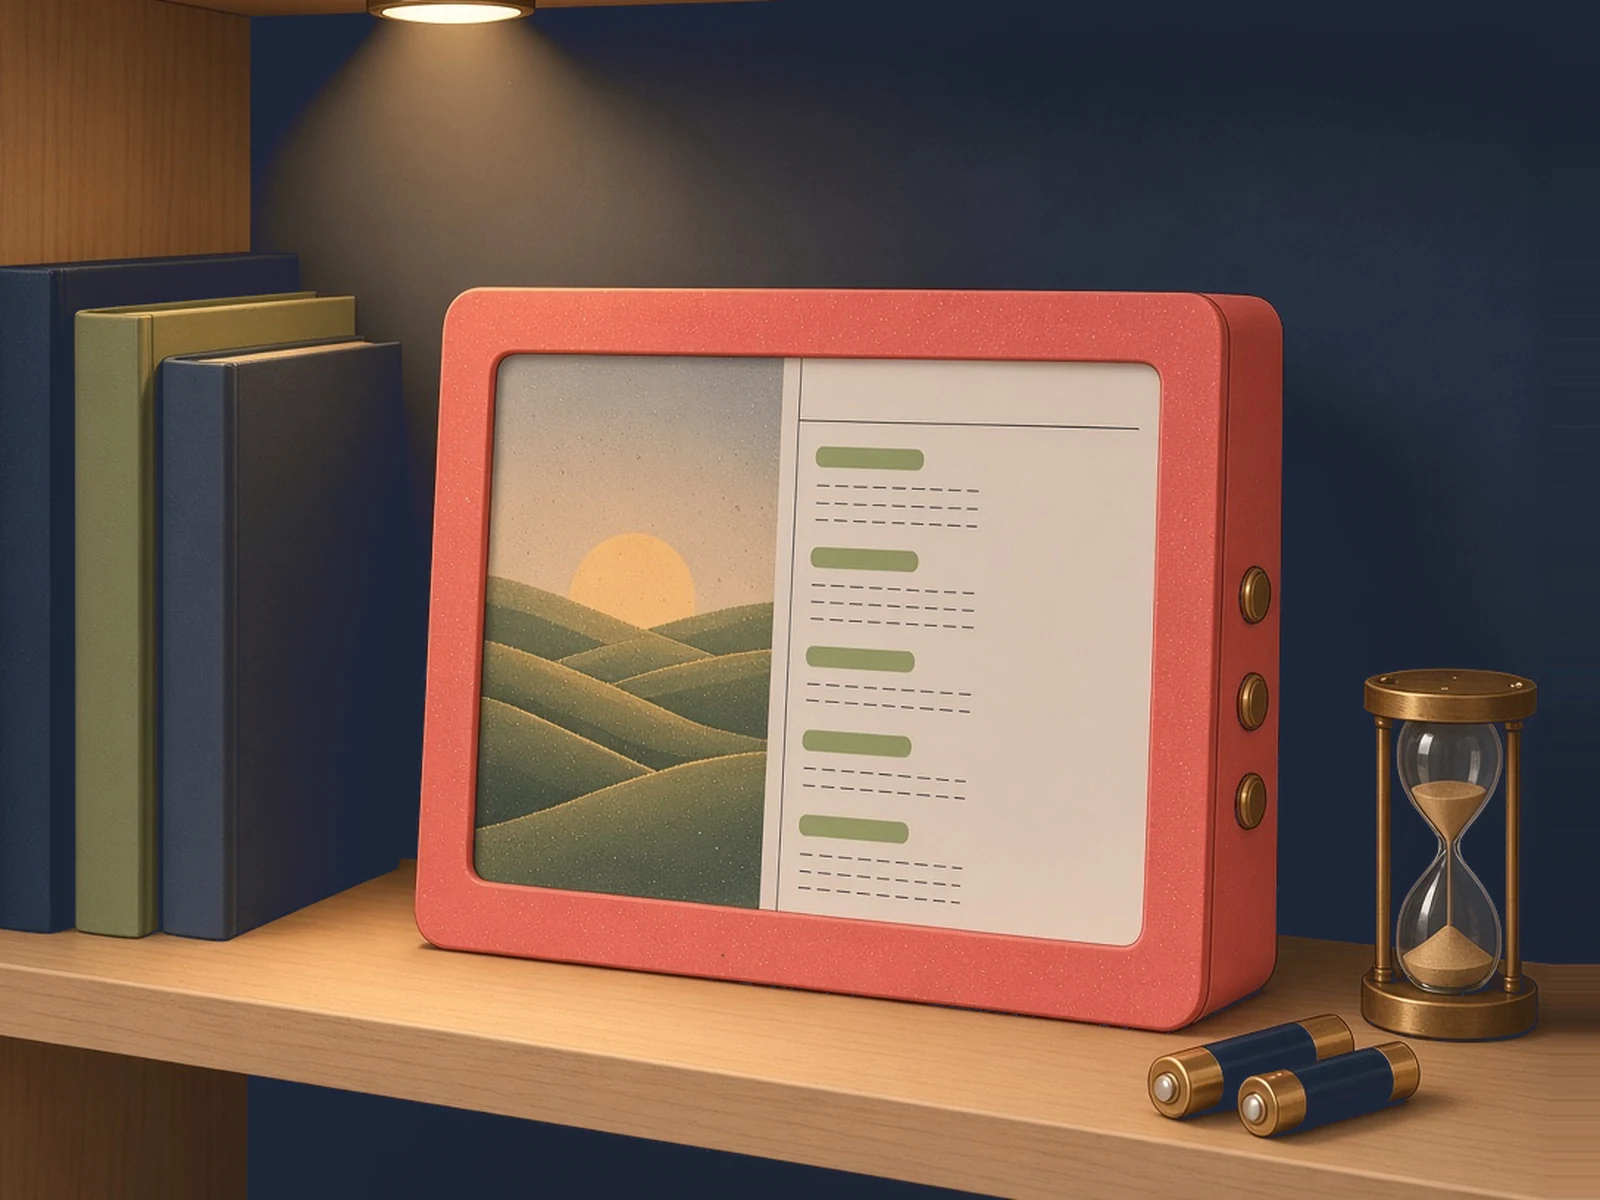
What it is
A battery-powered e-paper calendar that shows your week ahead from any iCal feed.
What you need
- Raspberry Pi Pico 2 W
- Waveshare 5.83" e-paper (B) or the 5.65in 7-colour panel
- ePaper breakout board for XIAO
- 4×AA battery holder
How hard
Intermediate: a few wires from the breakout board to the Pico, three buttons and a 3D-printed frame. The firmware is a drag-and-drop file.
Key Facts
- Board: Raspberry Pi Pico 2 W (RP2350, Wi-Fi)
- Two firmware builds: Waveshare 5.83in black/white/red (648×480) or 5.65in 7-colour (600×448)
- Any iCal URL works (Google Calendar, Nextcloud and others); fetched over HTTPS with certificate checking
- Runs for 2 months on 4 AA batteries, per the author
- Setup over a Wi-Fi hotspot web page; the calendar address is stored encrypted and not shown back
- 3D-printed frame, back and supports (STL plus OpenSCAD sources); no screws needed
- The ribbon cable breaks easily where it joins the screen; the author warns to handle it carefully
- AGPL-3.0-or-later (app); the os/ submodule is MPL-2.0
About This Project
picohive-epaper is a small wall or shelf calendar you can check at a glance in the morning. A Raspberry Pi Pico 2 W fetches your calendar over Wi-Fi from any iCal address (Google Calendar's secret iCal address, Nextcloud and others), draws the coming week on an e-paper panel alongside a picture, and goes back to sleep. The author says it runs for 2 months on 4 AA batteries. There are two ready-made firmware files: one for Waveshare's 5.83in black, white and red panel and one for the 5.65in seven-colour panel. After you copy the firmware onto the Pico it opens a setup Wi-Fi hotspot with a web page where you paste the calendar address; you can also upload your own pictures there, and the board dithers them itself. The build is a panel on its ribbon cable plugged into a XIAO ePaper breakout board, wired to the Pico, three push buttons and a 4×AA holder, all held in a 3D-printed frame that goes together without screws. The firmware builds on the author's picohive-firmware, which adds over-the-air updates, logs and crash reports. The repo is brand new (first release v1.0, November 2026).
Source & Attribution
Illustration
Parts Needed
- Raspberry Pi Pico 2 W
- Waveshare 5.83in (B) or 5.65in 7-colour e-paper
- ePaper breakout board for XIAO
- 4×AA holder
- 3 push buttons
- 3D-printed parts
Steps
- 1
Print the frame
Print the frame, back cover, screen support plate, supports and three button caps from the repo's STL folder. OpenSCAD sources are there if you need to adjust them.
- 2
Wire it up
Plug the panel's ribbon cable into the breakout board, the right way round, and handle it gently: it breaks easily where it joins the screen. Wire the breakout and buttons to the Pico following the author's wiring photo, and the battery holder red to VSYS and black to GND. Pins can be changed in the firmware config if you wire differently.
- 3
Flash the firmware
Download the release file that matches your panel (epaper_rb for the 5.83in, epaper_color for the 5.65in) and copy it onto the Pico in USB boot mode.
- 4
Get your calendar address
In Google Calendar on the desktop site, open your calendar's Settings and sharing and copy the secret address in iCal format. Any other iCal URL works too.
- 5
Configure it
After flashing, the board starts its setup hotspot. Join it, open the setup page, enter your Wi-Fi and paste the calendar address, then save and reboot. Press the setup button later to get back in, and upload your own pictures from the same page.
- 6
Assemble
The holders plug into holes in the supports and everything fits without screws; a little glue or tape keeps it together.
Bill of Materials
Parts list
7 parts · 5 linked
Heads up: some Buy links are affiliate links. If you buy through one, MCU Atlas may earn a small commission at no extra cost to you. It never changes which parts we list. How this works


3× Push buttons
Not included: 3D-printed frame, back, supports and button caps (STLs in the repo), Some hook-up wire, Superglue or tape (optional)
Related Projects