HomePlate: a Home Assistant and TRMNL e-ink dashboard for Inkplate boards
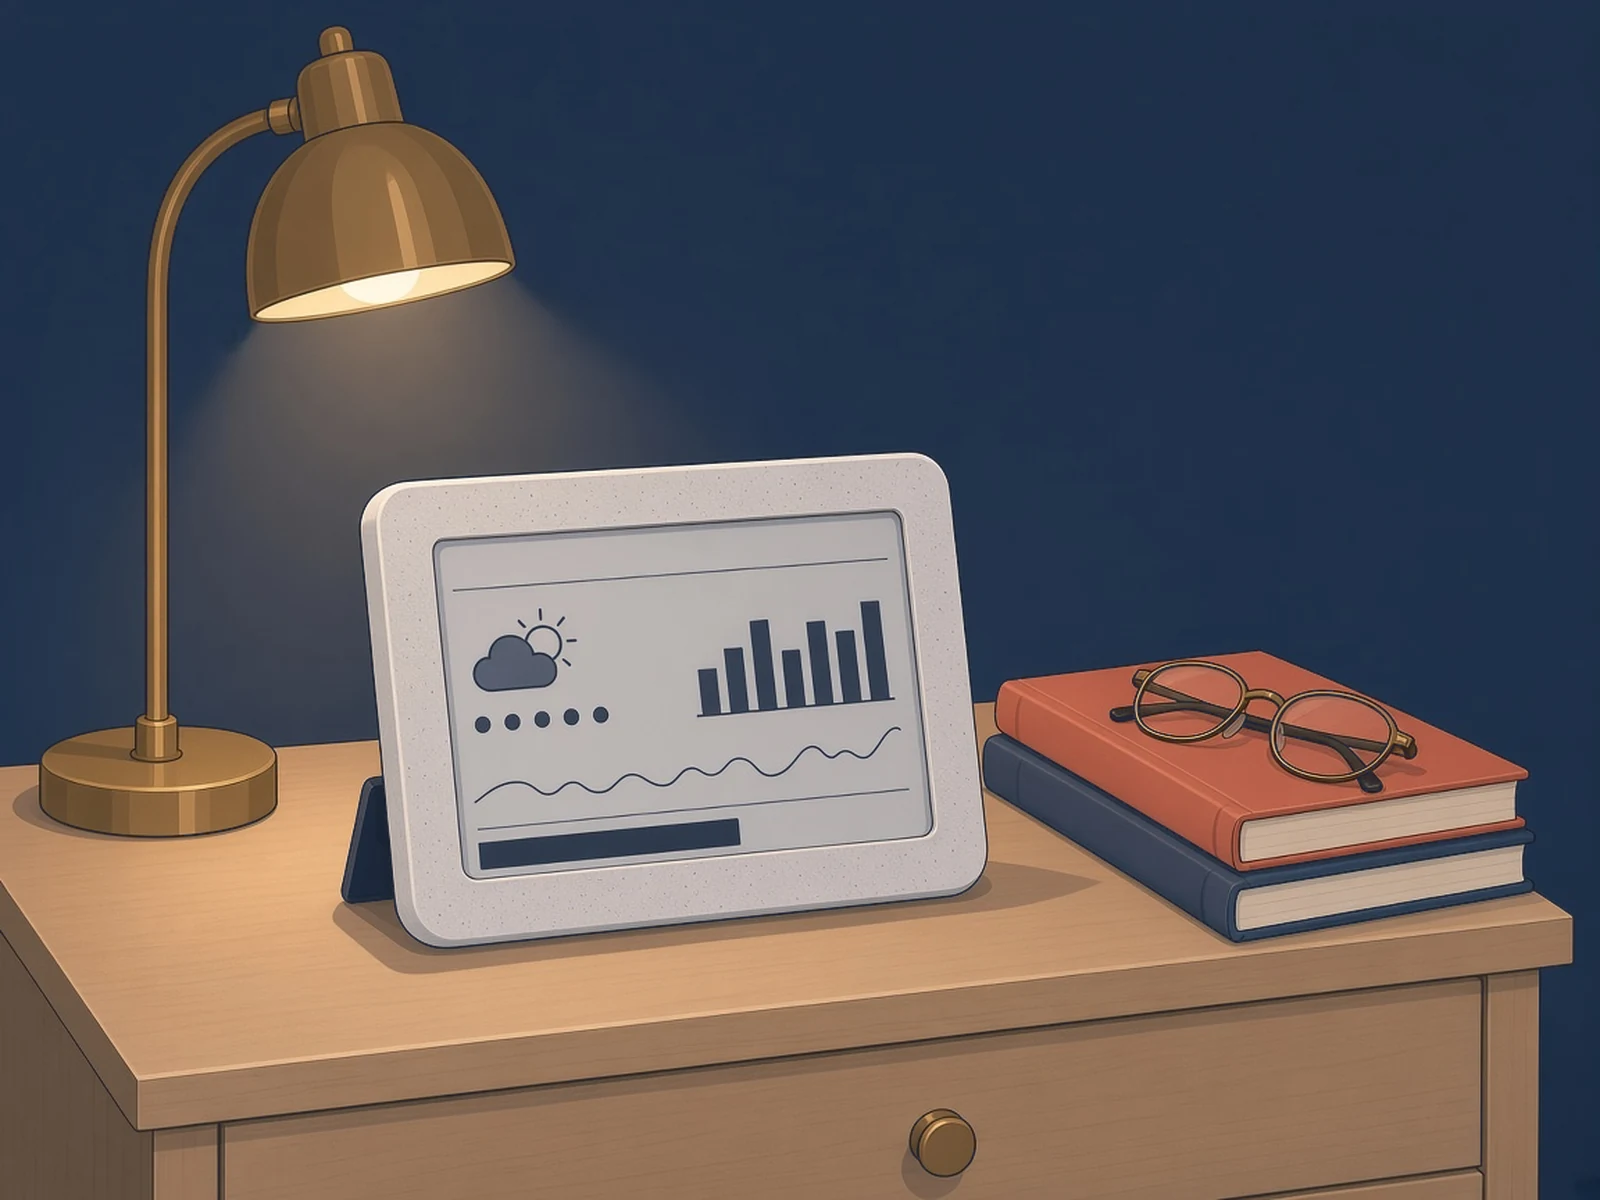
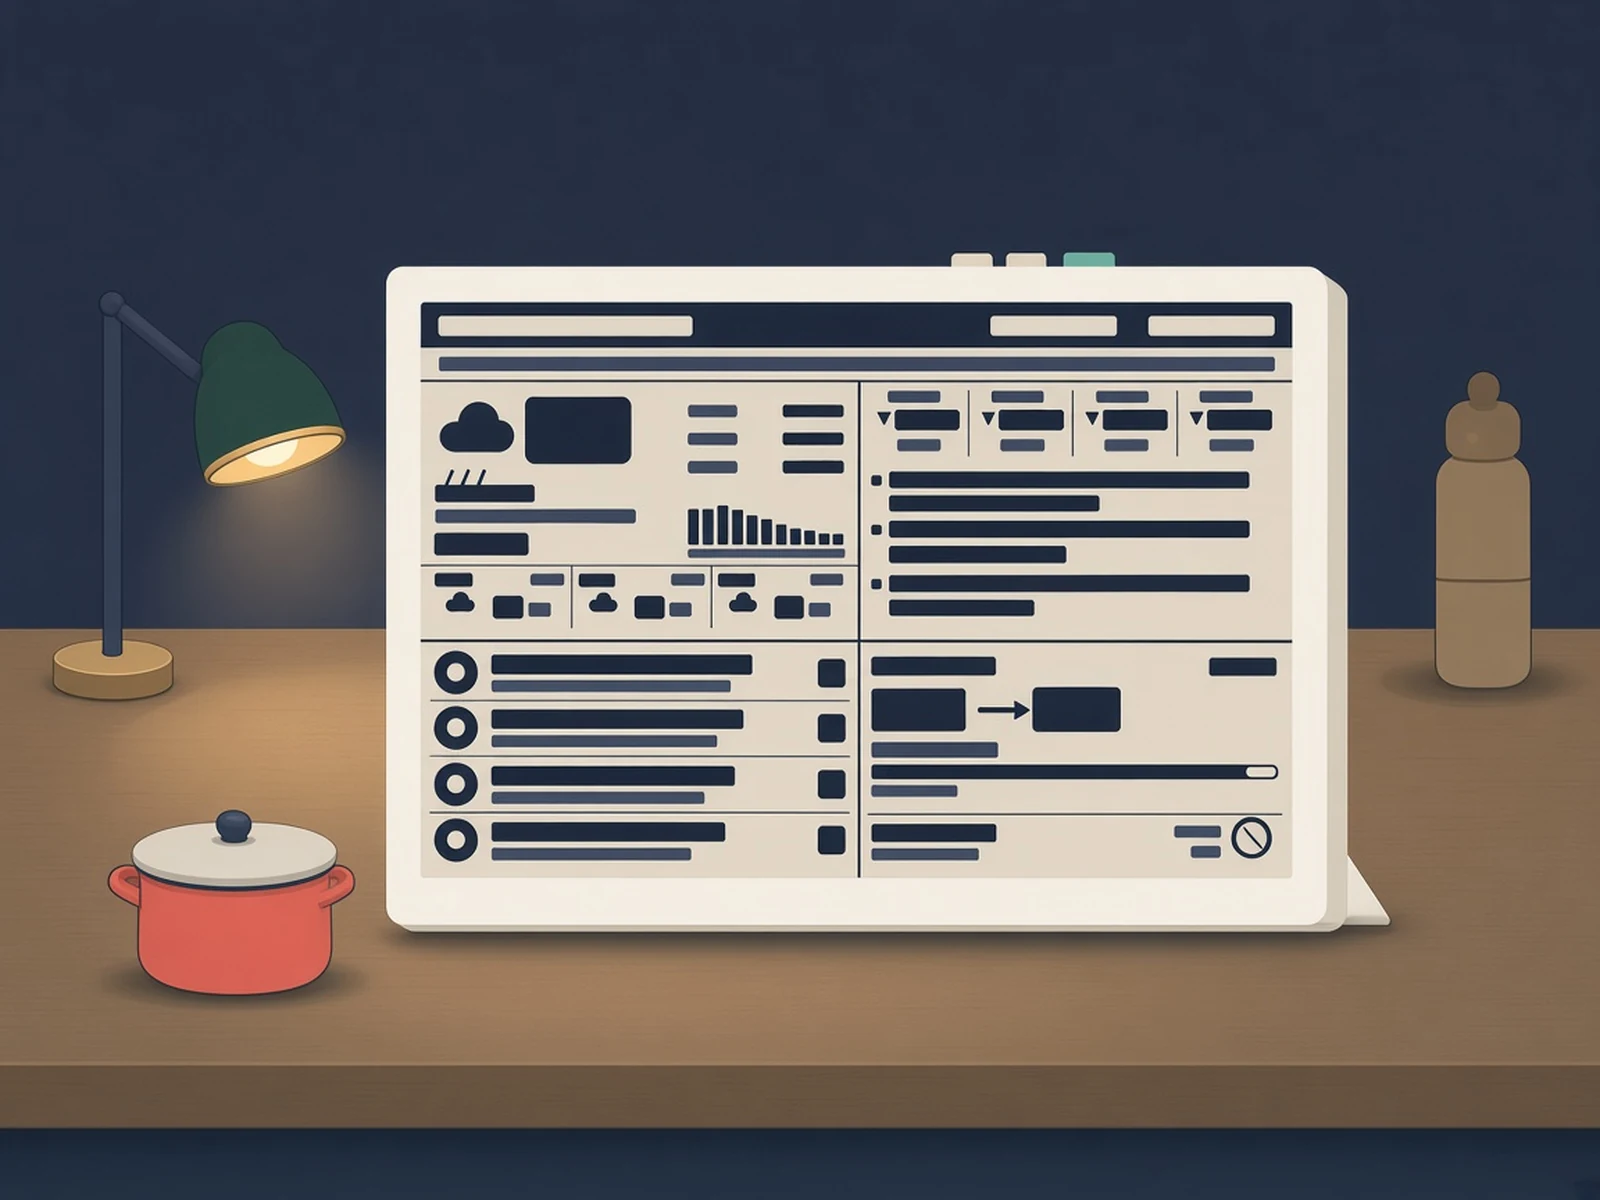
Flash HomePlate onto a Soldered Inkplate from your browser and it becomes a wall-mounted e-paper dashboard that shows a Home Assistant screenshot or a TRMNL screen, reports to Home Assistant over MQTT and runs for weeks on battery.
What it is
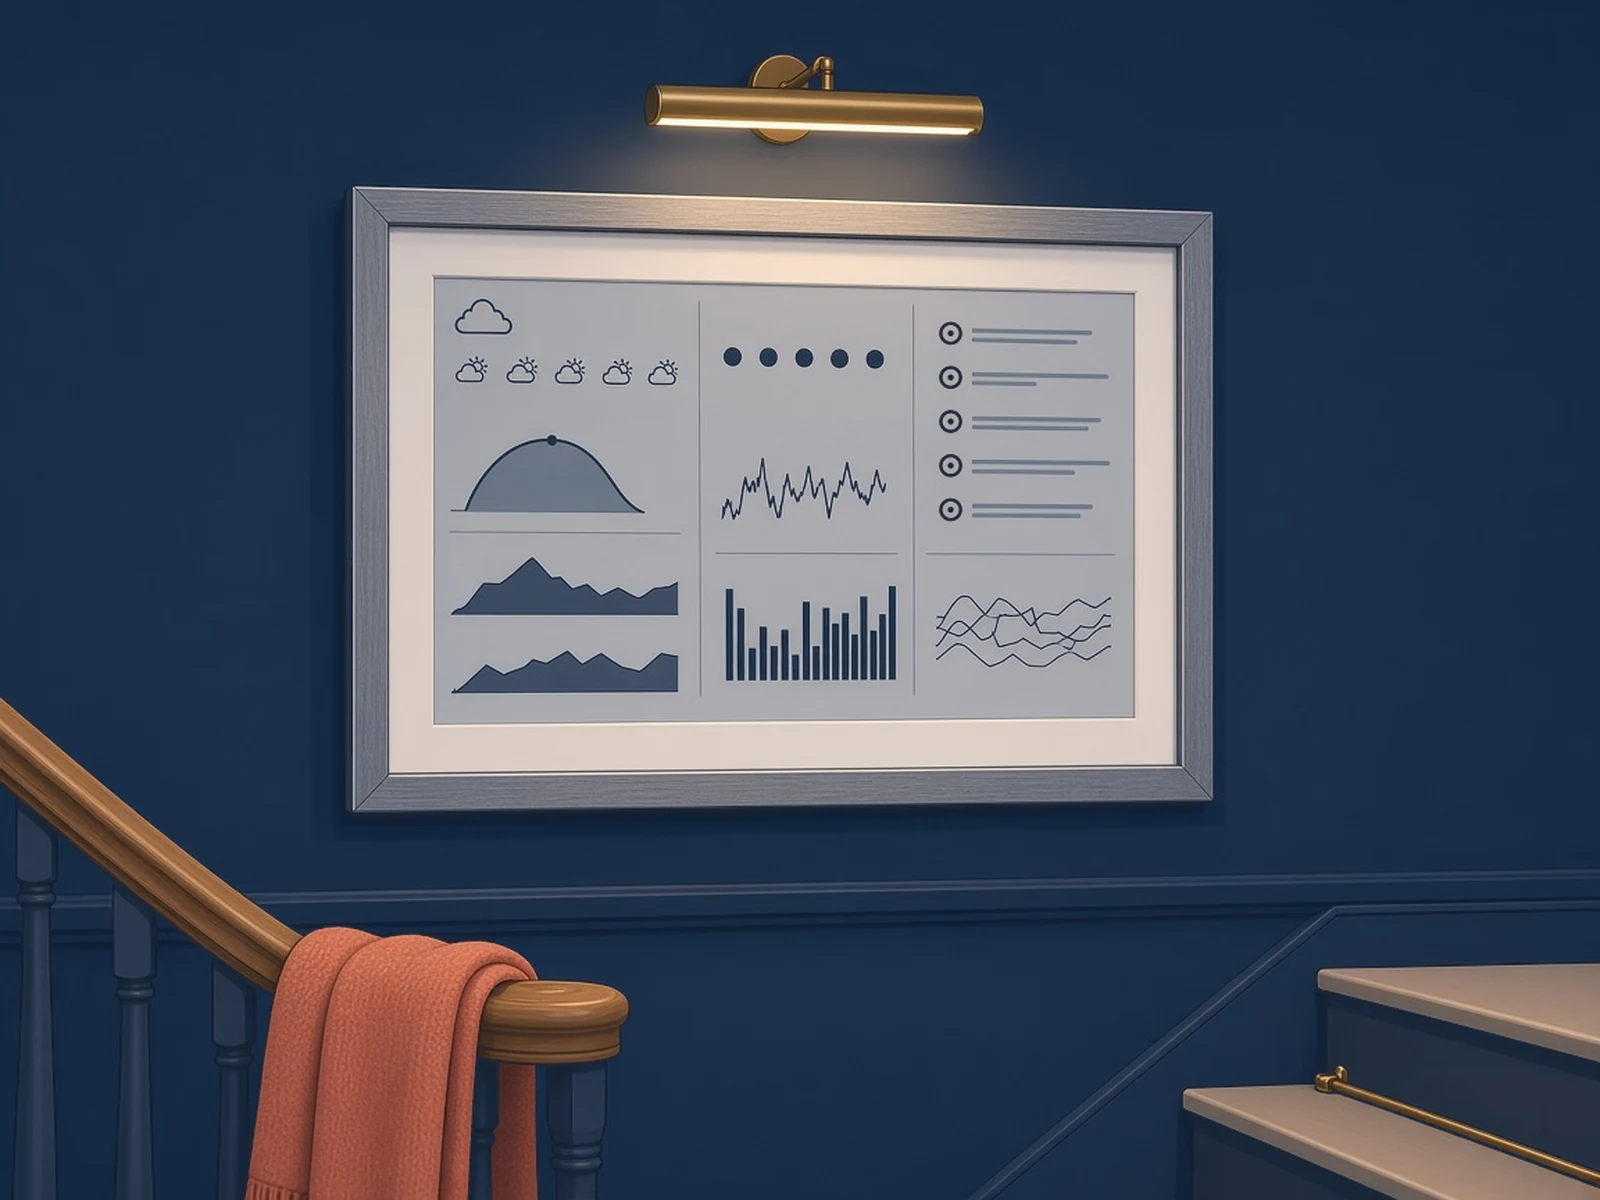
Firmware that turns an Inkplate e-paper board into a battery-powered Home Assistant or TRMNL dashboard you can hang on the wall.
What you need
- Inkplate 10 or another supported Inkplate
- USB-C data cable
- Home Assistant with the Puppeteer screenshot add-on or a TRMNL account
How hard
Beginner: no wiring. Flash from a web page, fill in a setup form, and set up a dashboard and screenshot add-on in Home Assistant.
Photos
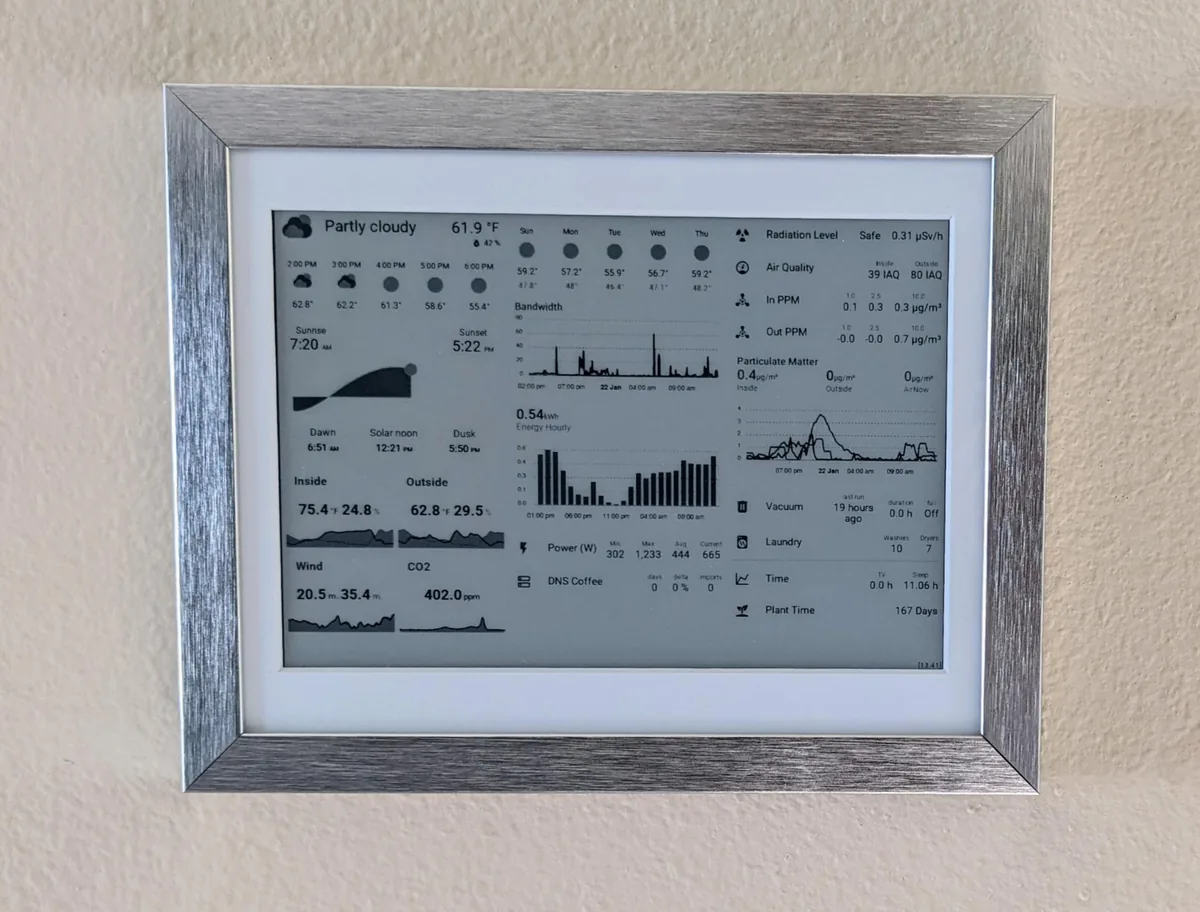
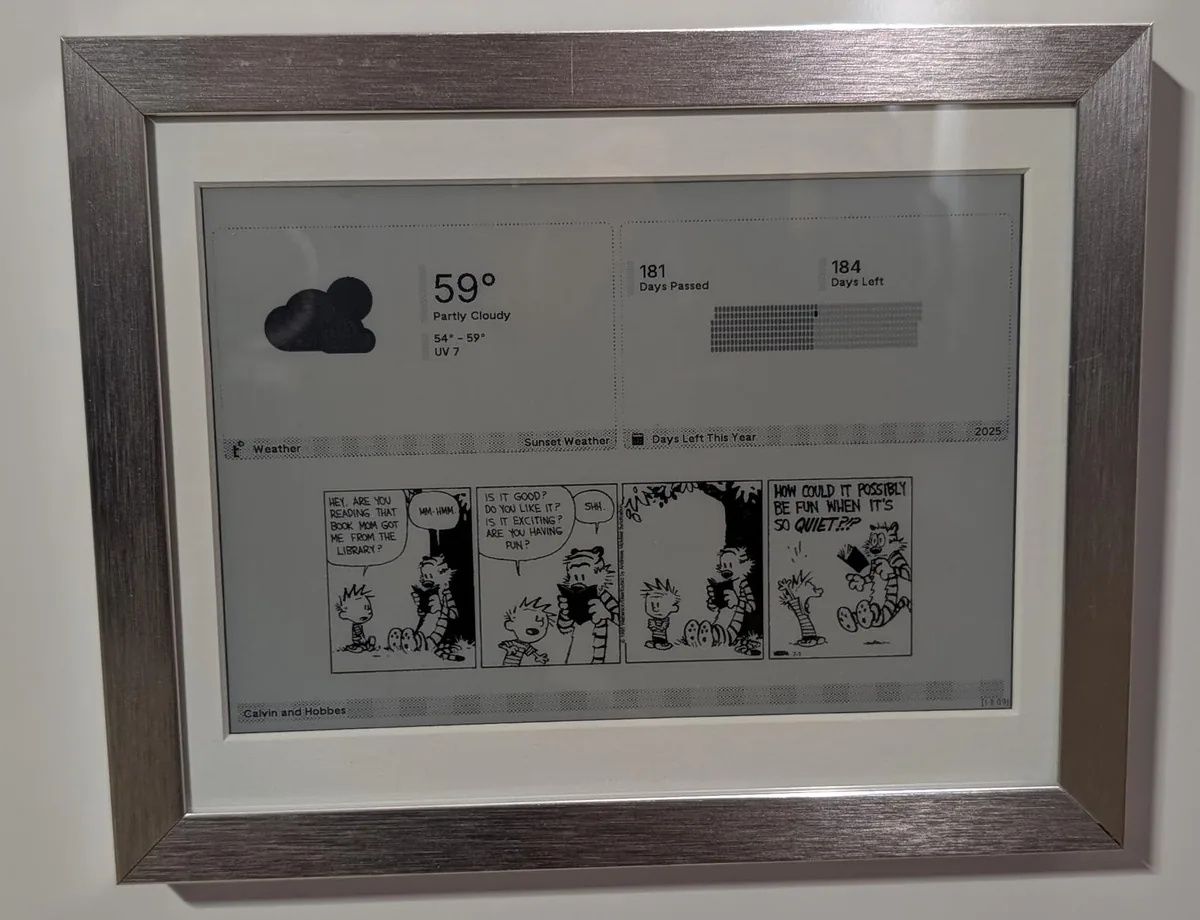
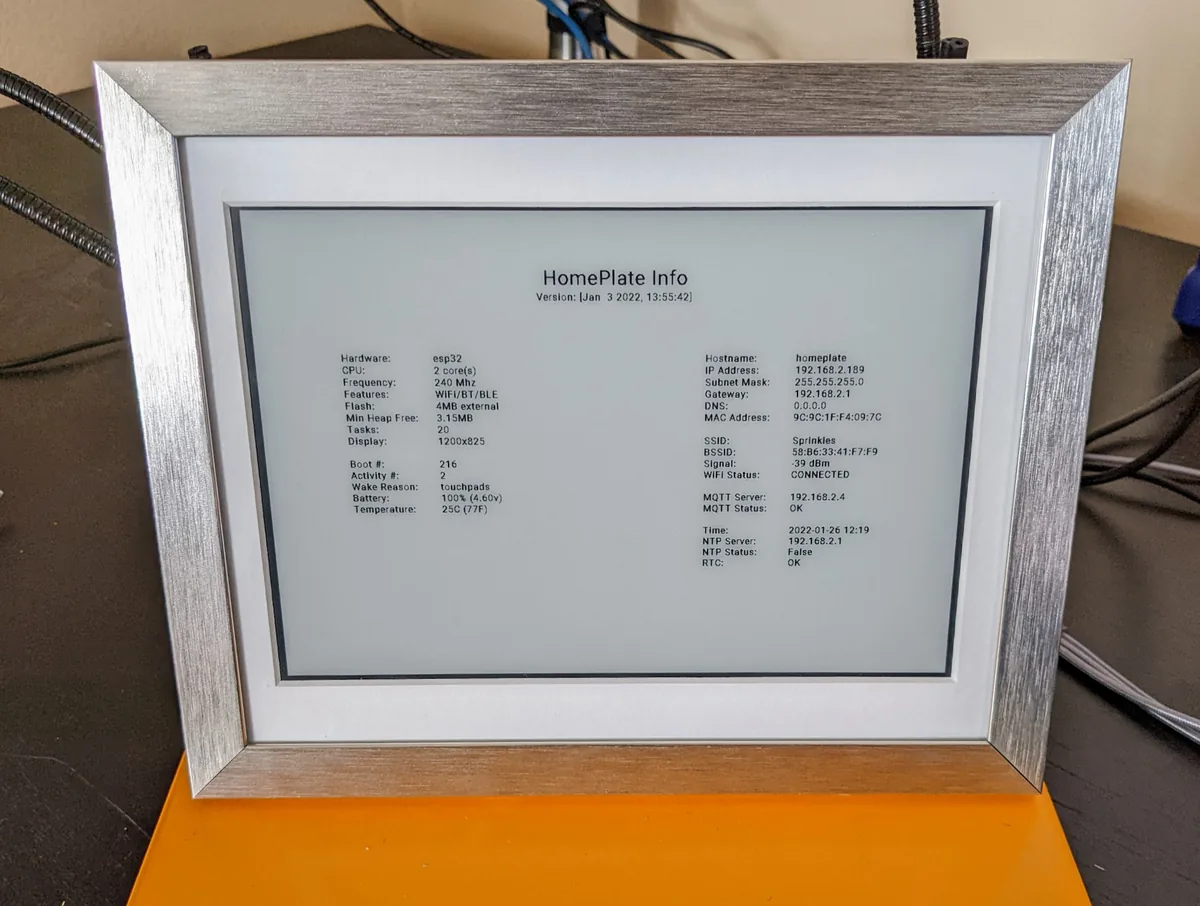
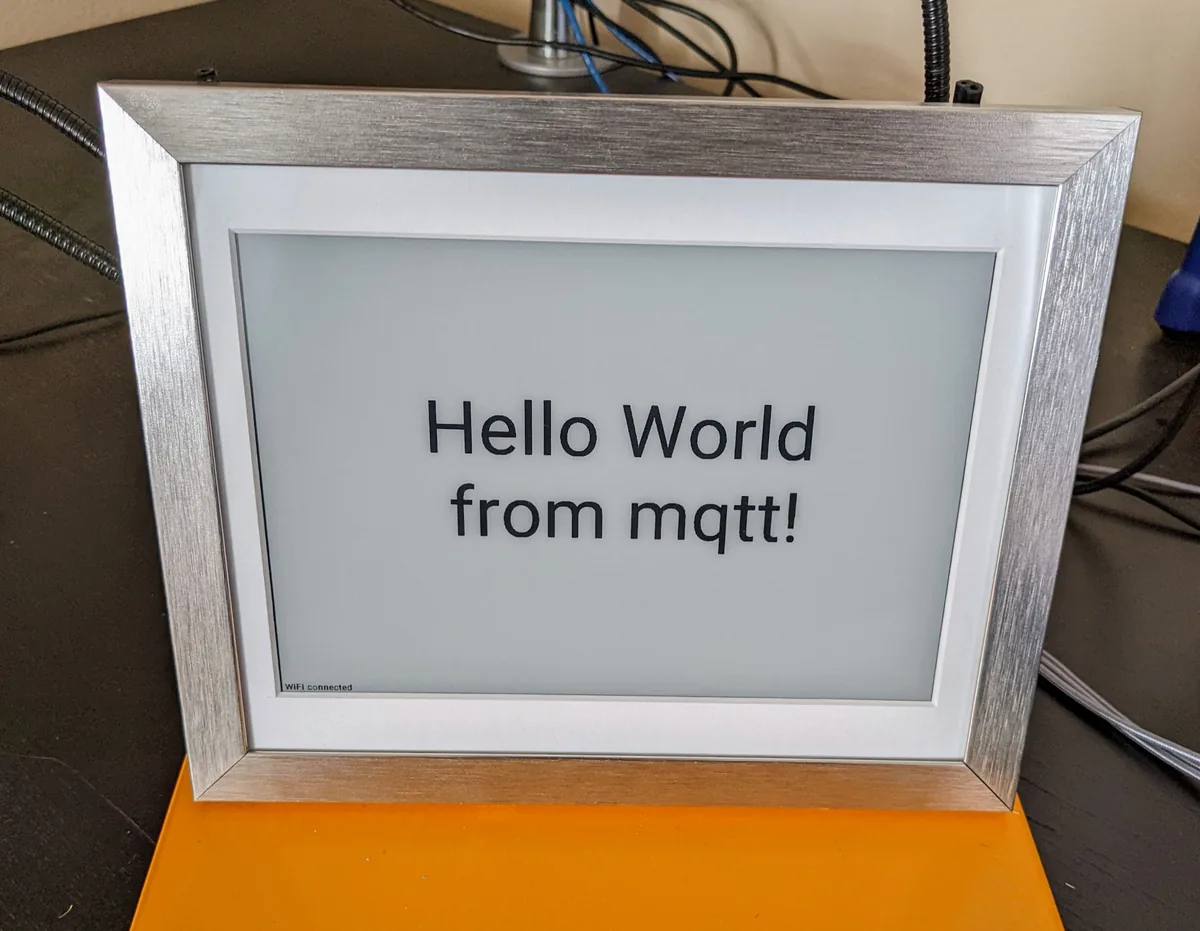
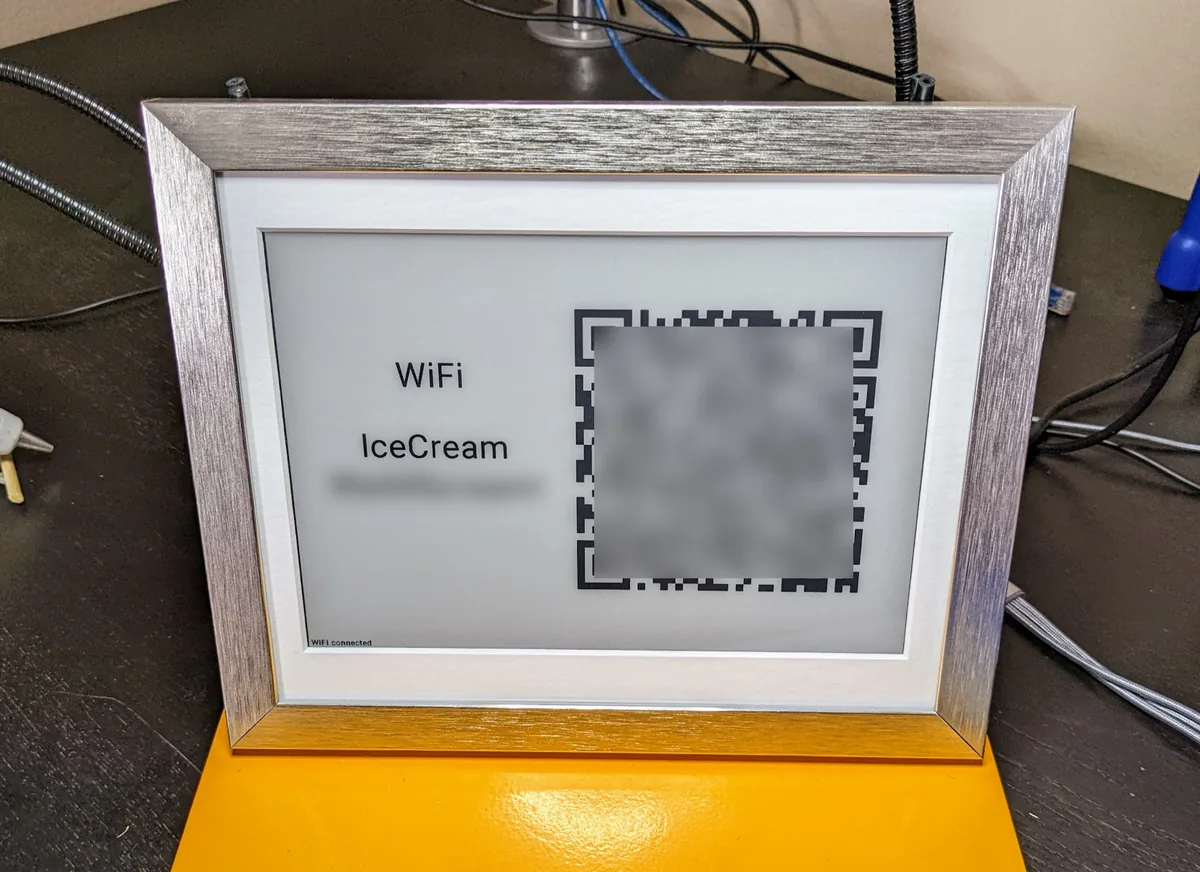
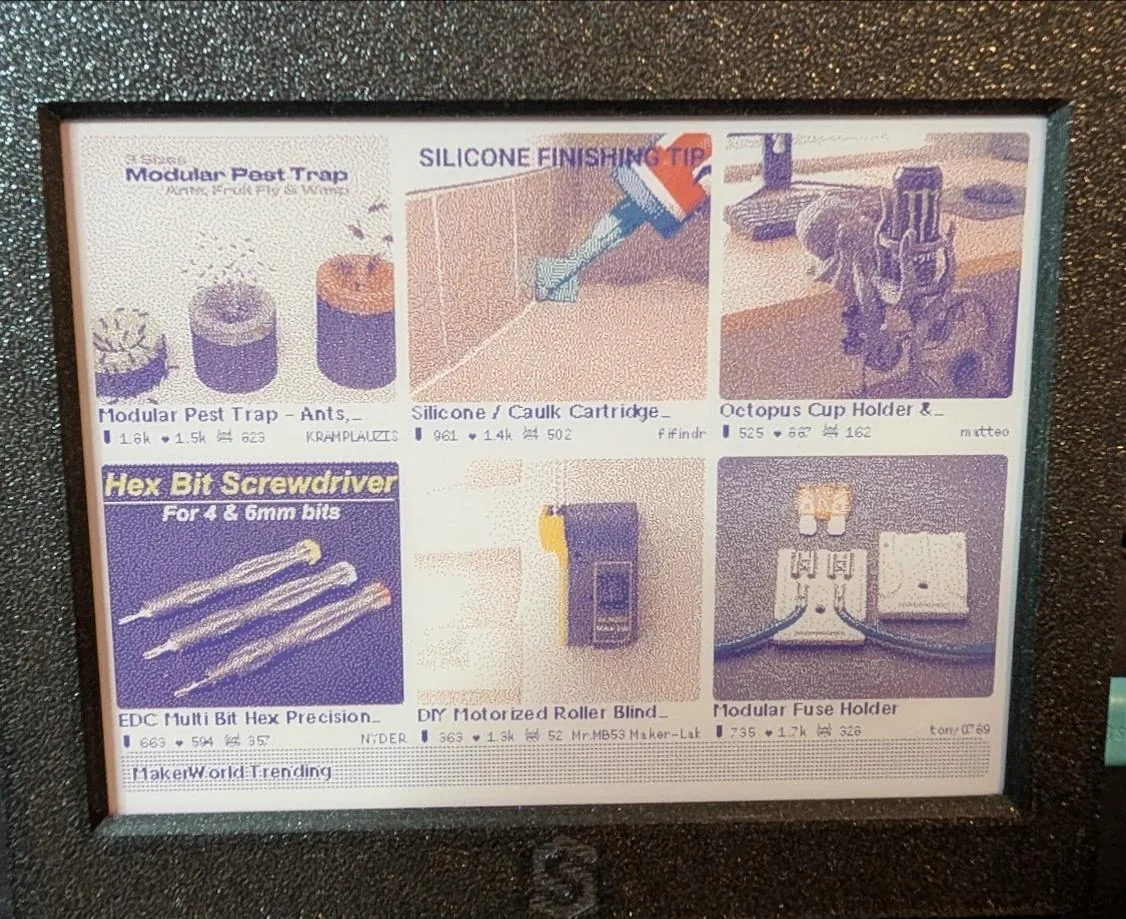
Photos: lanrat/homeplate (Apache-2.0)
Key Facts
- Supported boards: Inkplate 5 and 5v2, 6 and 6v2, 6 Plus and 6 Plusv2, 6 Flick, 6 COLOR, 10 and 10v2, and 13 Spectra
- Screens: Home Assistant screenshot, TRMNL, guest Wi-Fi QR code, device info, MQTT message
- Install from the web installer over USB, from a release file, or build with PlatformIO
- Setup over a 'HomePlate-Setup' Wi-Fi hotspot: Wi-Fi, image URL, TRMNL ID and token, MQTT, refresh interval (default 20 minutes)
- Reports temperature, battery and Wi-Fi to Home Assistant over MQTT; low-battery warning; OTA updates
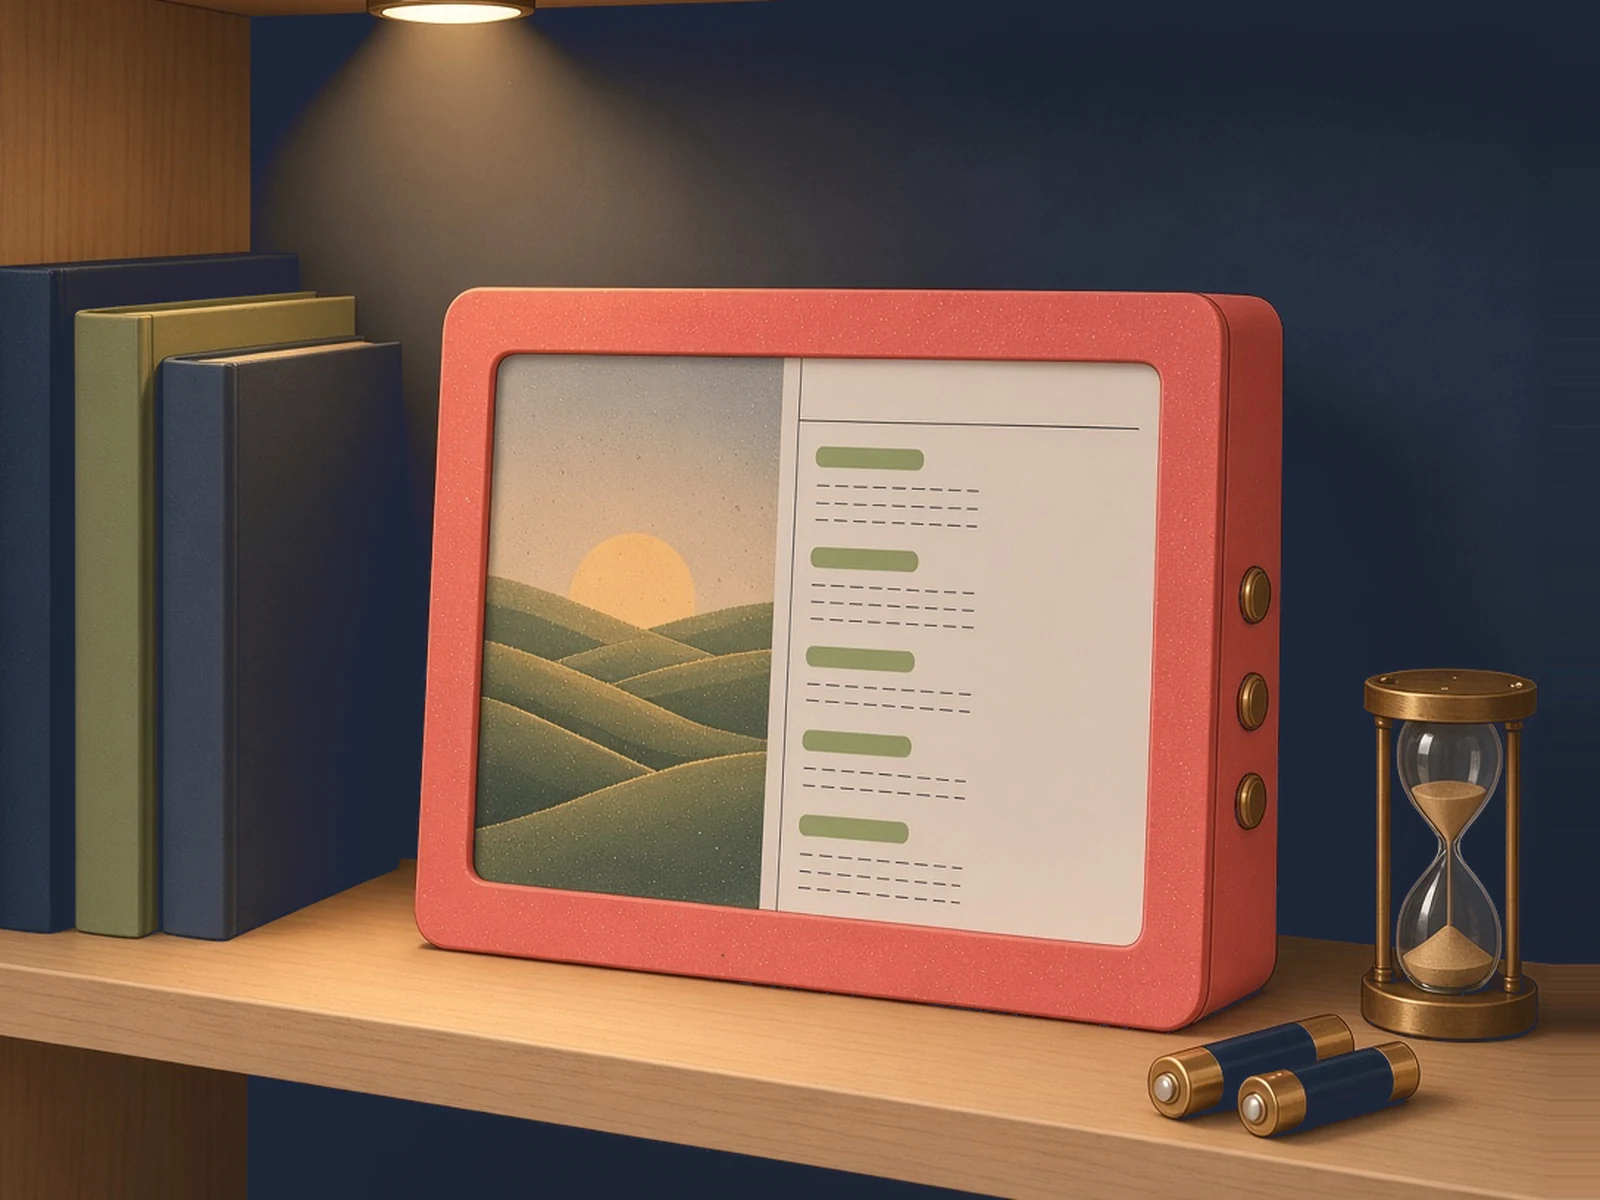
- Creator reports 1 month+ battery life; an optional always-on mode needs external power
- Partial (grayscale) updates only on black-and-white boards; Inkplate 6 COLOR and 13 Spectra do full refreshes
- Apache-2.0 licence
About This Project
HomePlate, by Ian Foster (@lanrat), is firmware for Soldered's Inkplate boards, which are ESP32 boards with an e-paper screen already fitted. It wakes up, fetches a picture, draws it and goes back to deep sleep. The usual picture is a screenshot of a Home Assistant dashboard, made by the 'Screenshot Home Assistant using Puppeteer' add-on, but it can also show a TRMNL screen, a guest Wi-Fi QR code, a device info page or a message you send over MQTT. It reports temperature, battery and Wi-Fi to Home Assistant over MQTT, warns when the battery is low, and the creator reports more than a month of battery life. You install it from a web installer over USB, then set Wi-Fi, the image URL and MQTT through a setup hotspot. The creator mounted an Inkplate 10 in a picture frame and documents the build. No wiring or soldering is needed: the board, screen and battery charger are all on the Inkplate.
Source & Attribution
Parts Needed
- A supported Soldered Inkplate (the creator uses an Inkplate 10)
- USB-C data cable
- Home Assistant with the Puppeteer screenshot add-on, or a TRMNL account
Steps
- 1
Prepare the image
In Home Assistant, make a dashboard and install the 'Screenshot Home Assistant using Puppeteer' add-on, which serves it as an image. HomePlate's Home Assistant notes show how to ask for the Inkplate's own resolution and colour depth. The creator suggests kiosk-mode, card-mod and layout-card for a clean layout. With TRMNL, you can skip this and use your TRMNL ID and token instead.
- 2
Flash the firmware
Connect the Inkplate over USB, open the HomePlate web installer in a browser that supports Web Serial, pick your board and install. A release file or a PlatformIO build also works.
- 3
Run the setup hotspot
After flashing, the board opens a 'HomePlate-Setup' Wi-Fi hotspot. Join it, open 192.168.4.1 and enter your Wi-Fi, the image URL, optional MQTT and TRMNL details, and the refresh interval. The hotspot stays up for about 15 minutes.
- 4
Check the dashboard
The board fetches the image, draws it and sleeps until the next refresh (20 minutes by default). It skips redrawing when the image hasn't changed.
- 5
Add sensors and controls
With MQTT set, Home Assistant sees temperature, battery and Wi-Fi sensors, and you can switch screens or send a message to the display.
- 6
Change settings later
Hold the wake button while the board boots to reopen the setup hotspot (on the original Inkplate 6, short GPIO 13 to GND instead).
Available as a complete kit
The creator's board: a 9.7in ESP32 e-paper board. HomePlate also runs on the Inkplate 5, 6, 6 Plus, 6 Flick, 6 COLOR and 13 Spectra.
Part details in our parts libraryRelated Projects